How-To
How to Overcome Cannot log in To Facebook
In the current era of digitalization, almost everyone has a Facebook account, young or old. Facebook is a social media that can be said to be popular and is used almost all over the world, of course, its function is to connect with friends, relatives, or even new friends.
Lately, quite a lot of Facebook users have complained about the problem of not being able to log in to Facebook / unable to log in to their Facebook accounts. If you are currently experiencing the same problem, then this article will be of use to you.
There are several reasons why you can’t log in/log in to your Facebook account, including security problems, there are repeated login actions to your account, server problems / Facebook interference, and several other problems.
The following is how to Overcome Unable to Login / Login to Facebook:
1. Make sure you have entered the correct username/email and password
This problem generally occurs in people who have multiple Facebook accounts, a simple solution you can do is to make sure the username/email address and password you enter are correct.
If you are sure that your username/email and password are correct, make sure:
- Type in username and password manually (don’t copy-paste)
- Pay attention to the uppercase and lowercase letters of the password
2. Make sure the Facebook server is not down/interrupted
The second solution is to make sure there are no Facebook server disturbances in your area, especially if any of your friends can’t log in, if so, it is certain that there is a problem with Facebook.
The best solution if there is a server problem is to wait for Facebook to return to normal.
3. log in to Facebook Using the Restore Your Facebook Account feature
If you can still log in/log in to your Facebook account, the next solution you can do is to recover your account by using the forgot password service.
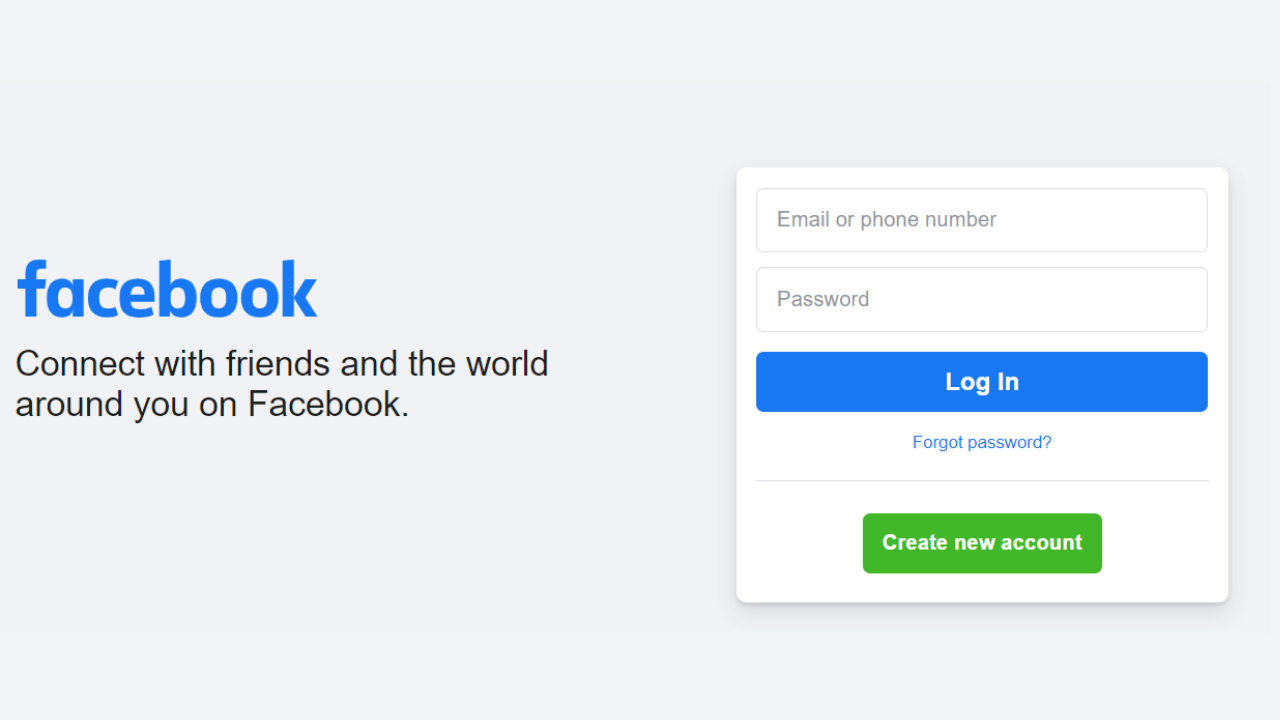
- Open Facebook then select Forgot Password (forgotten password)
- Then type the email address or phone number that you used when registering for Facebook first, then click the button
- Next select Send Code Via Email / Phone Number and click the Continue button
- After that a code will be sent by Facebook to your email or cellphone number, enter the code and press the Continue button.
- In the next step, you will be asked to enter your new Facebook password and you can log in using your new Facebook password.
Notes :
If there is no code entered into your email or cellphone number, make sure the email address and cellphone number you entered is correct
4. log in to Facebook Using the Verification Method
If you forget which email or cellphone number you used to register for Facebook, you can use the verification method, for how to:
- Open Facebook then select Forgot Password (forgotten password)
- At the top right, click Forgotten account?
- Click No longer have access to these?
- Then you will be taken to the Try to log in again menu. And select I Cannot Access my Email Account
- Click facebook.com/login/identify
- and follow the prompts to help you identify your account.
5. Your Facebook account has been blocked / Suspend
If you see that your account information is blocked, you can request a Facebook account refund or find out why your Facebook account was blocked through the Facebook help service on the following page:
https://www.facebook.com/help/283100488694834/
On that page, you will be guided by the Facebook help service so you can log back into your Facebook account.
Notes :
If you really didn’t commit any violations, this could be a security measure taken by Facebook because there was an unauthorized login attempt by someone else.
Leave a comment below, if all the methods above have not resolved your problem of not being able to login to Facebook.
How-To
How to Fix Blurred Images/Photos on Android Phones

Why your photos can be blurry (blurred) There are several factors that cause them, including: When taking photos it is unstable (shaky), the object you are photographing is a moving object, the camera lens is dirty, the camera application is not functioning properly and several other causes.
How to Fix Blurry Pictures Taken from Android Phone:
1. Use an app to fix blurry photos
Most image editing apps include a useful function to sharpen photos, this feature you can use to improve your Android photos.
As for the method, I have discussed it in a previous article here
Or you can also try other apps like VanceAI and Neural. love, Let’s Enhance, and MyEdit
2. Take precautions so that the photos are not blurry
Tips for preventing blurry images on Android phones, there are several things you can try to prevent this, including:
- Clean your phone lens
- Take photos in better lighting conditions
- Delete the Camera application cache, go to the menu: Settings > Storage > Devices > Cached data > Clear cached data > OK.
- As much as possible, avoid excessive zoom functions when taking photos on an Android cellphone camera.
How-To
How to Fix Spotify AI DJ Not Showing

As a music streaming service, Spotify has revolutionized the way we listen to music. One of its most exciting features is the AI DJ, which creates custom playlists based on your music preferences. However, sometimes users encounter an issue where the AI DJ feature is not showing up. In this article, we will go through a step-by-step guide on how to fix this issue.
Step 1: Check for Updates
The first thing you should do is check if your Spotify app is updated. If not, update it to the latest version. This may resolve any glitches or bugs that are causing the AI DJ feature to disappear.
Step 2: Clear Cache
Clearing the cache on your Spotify app may also help resolve this issue. To do this, go to your app settings and select “Storage.” From there, tap on “Clear Cache” and restart your app.
Step 3: Disable Battery Saver
Sometimes, battery saver settings can interfere with the app’s performance. To disable the battery saver, go to your phone’s settings and select “Battery.” From there, disable any battery-saving modes that are enabled.
Step 4: Check the Internet Connection
Make sure that you have a stable internet connection. If your internet connection is slow or unstable, the app may not be able to load the AI DJ feature.
Step 5: Check Country Settings
Spotify’s AI DJ feature is not available in all countries. If you’re using the app in a country where this feature is not available, it may not appear on your app. You can check the list of countries where the AI DJ feature is available on the Spotify website.
Step 6: Check the Subscription
The AI DJ feature is only available to Spotify Premium subscribers. If you’re using the free version of the app, you may not be able to access this feature.
Step 7: Reinstall the App
If none of the above steps work, you can try uninstalling and reinstalling the app. This will reset the app to its default settings, which may resolve any issues that were causing the AI DJ feature to disappear.
Step 8: Restart Your Device
If the issue persists, try restarting your device. This can help fix any software issues that may be causing the problem. Here’s how to do it:
- Press and hold the power button on your device.
- Tap on the “Restart” option when it appears on the screen.
- Wait for your device to restart, and then try opening the Spotify app again.
Step 9: Contact Spotify Support
If the issue persists after trying all the above steps, it’s time to contact Spotify support. You can reach out to them through their website, and they will guide you through resolving the issue.
Conclusion
Spotify’s AI DJ feature is a great way to discover new music based on your preferences. However, it can be frustrating if it’s not showing up on your app. By following the steps outlined above, you should be able to resolve the issue and get back to enjoying your music. Remember to check for updates, clear cache, disable battery saver, check internet connection, country settings, and subscription, and reinstall the app. If all else fails, don’t hesitate to contact Spotify support.
How-To
How to Overcome steam error code e84
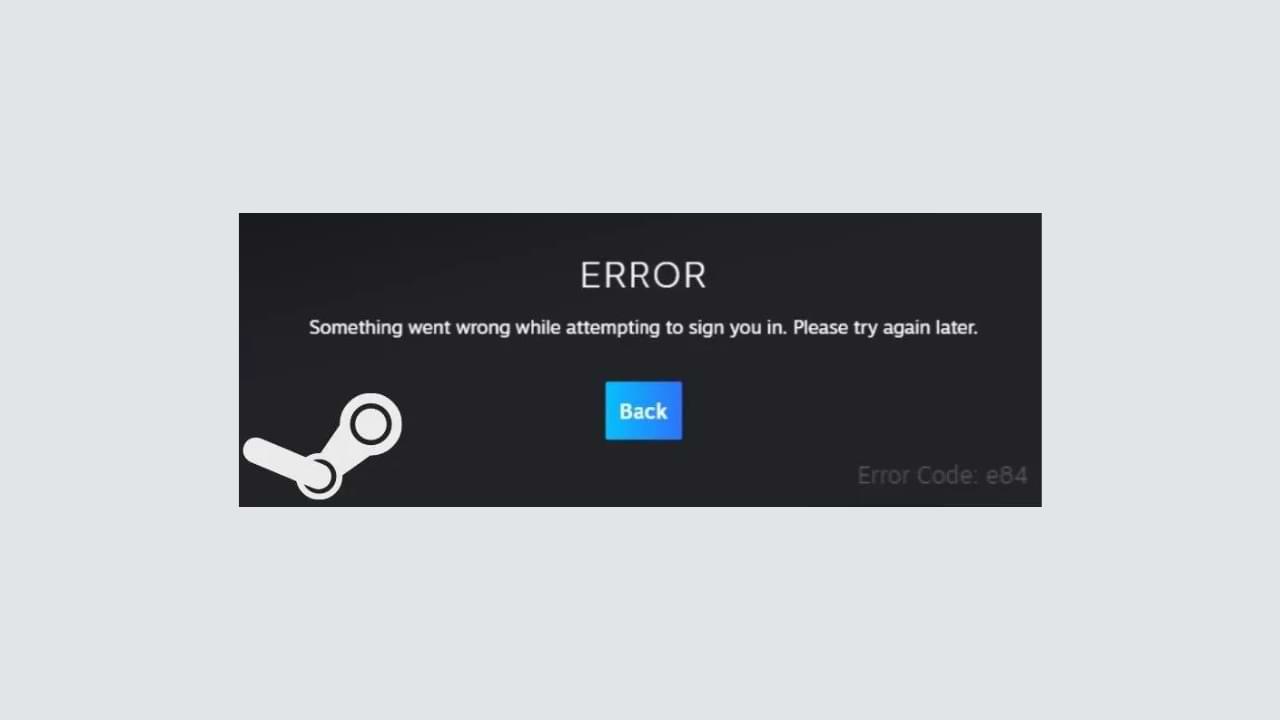
The steam error code e84 problem usually occurs when we are about to log into the Steam platform, this error is also accompanied by Something that went wrong while attempting to sign you in.
If you are currently experiencing the same error. So in this article, we are going to provide you with the repair solution with the simplest way to fix it.
1. Delete Temporary Files
Temporary Files on your computer can sometimes make Steam run improperly. One is the steam error code e84, so try deleting temporary files from your computer. To do so, follow these steps:
- Press the Windows key + R then type the command %temp% and press the Enter / OK key
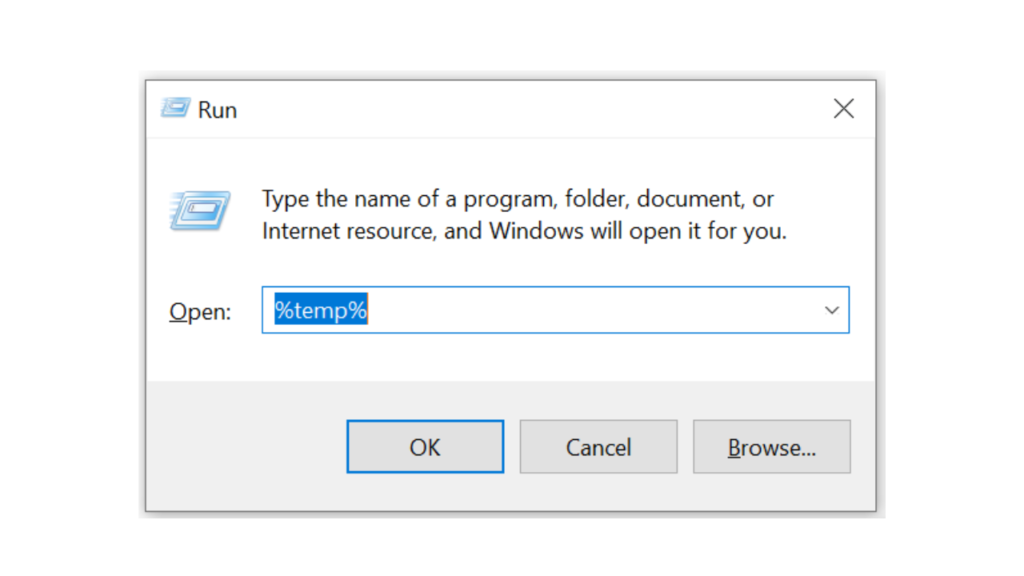
- Then delete all files and folders in the temp folder
- After that, try restarting your computer, and try opening Steam, is the error code E84 still there?
Deleting all of these folders will not cause errors or damage to the computer/programs on your computer, because all the files in this temp folder are temporary files that are no longer needed.
2. Update the Steam Application
Check if there is an update available for the steam application, if there is, please update immediately. And after the update is complete, try opening the Steam application again.
3. Reinstall the Steam App
If the two methods above don’t work, there could be some problematic or damaged Steam system files. The best solution is to reinstall the Steam application.
-
 Phones5 years ago
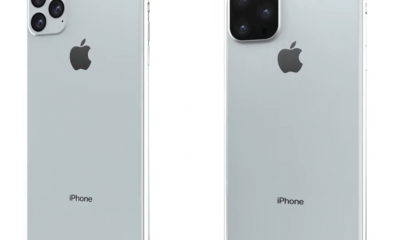
Apple iPhone 11 (2019) – Release, Info, Leaks, Rumors
-
![Huawei's New Operating System is HarmonyOS [ Officially ],harmony os,huawei new operating system, huawei harmony OS,](https://www.thedigitnews.com/wp-content/uploads/2019/08/Screenshot__2285_-removebg-preview-2-1-400x240.png)
![Huawei's New Operating System is HarmonyOS [ Officially ],harmony os,huawei new operating system, huawei harmony OS,](https://www.thedigitnews.com/wp-content/uploads/2019/08/Screenshot__2285_-removebg-preview-2-1-80x80.png) Phones5 years ago
Phones5 years agoHuawei New Operating System is HarmonyOS [ Officially ]
-

 News5 years ago
Belle Delphine bath water – Instagram Model Sells Used Bathwater For 30$ To Their Loyal Followers
-

 Tech5 years ago
Levi’s Bluetooth Jacket Lets You Control Your Smartphone


