
Life Hack
How to Recover Deleted Photos on Android
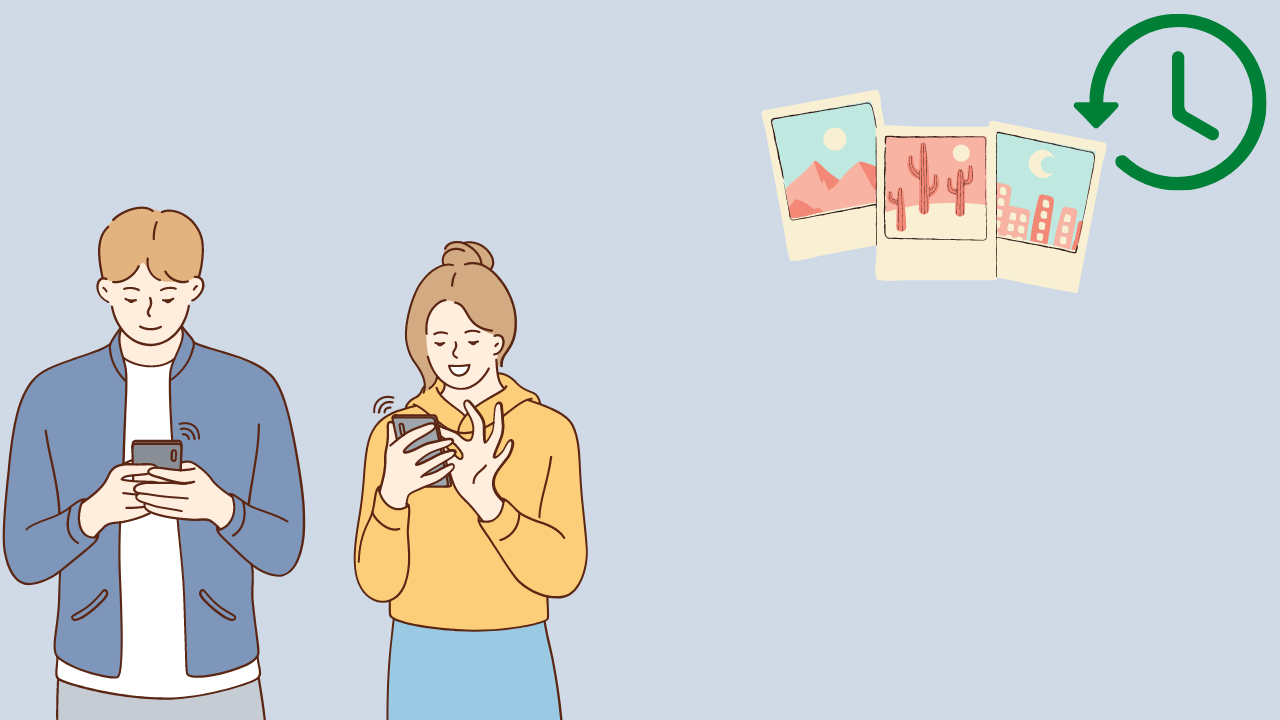
How to restore deleted photos must be important information for those of you who like to take photos and store them in the mobile gallery. Remembering the activity of storing photos or pictures on a cellphone is a way for users to capture beautiful memories.
Unfortunately, sometimes these photos can be accidentally deleted when cleaning the gallery. Moreover, not all Phone has a jumbo memory capacity, and we delete old photos so they don’t get full.
Deleting photos sometimes makes us regret it because memories can never be repeated. Only by looking at the photo can we treat the longing for the activities in it.
But, don’t worry, you can still restore the deleted photos, you know, gang. Jaka will share how to restore deleted photos on the device, starting from Android. Curious? Read more below.
How to Recover Deleted Photos Easily
Photos you delete from the gallery will not immediately disappear from your cellphone. There is a temporary storage folder that will hold the photos that you have deleted.
However, if you have cleaned the memory more than once or cleaned the Recycle Bin, the photos will be permanently lost.
However, don’t worry because you can restore the deleted photos. Instead of waiting long, find out how below!
How to Restore Deleted Photos on an Android Phone
First of all, ApkVenue will share how to restore deleted photos on Android. This method is quite simple and easy for you to do.
Don’t worry; you don’t need to root your Android to restore deleted photos.
All you need is an application available for free on the Play Store or in other application stores. You can also use the default Google Photos application, you know!
Here are the steps for those of you who are curious about restoring deleted photos on a Vivo, Xiaomi, Samsung, or other Android mobile brand.
1. Using Photo Restore App
There are many alternative applications to restore deleted photos for those who like to use other gallery applications or don’t use Google Photos.
One of them is the Dumpster app. This application to restore deleted photos is of good quality.
Then how to restore deleted photos using a Dumpster? Just follow the easy step by step below:
- Open the Dumpster APP
- First of all, you open Dumpster on your Android phone. If you don’t have it, you can install the Dumpster application via the link below:
- Tap the three lines icon
- If the installation process is complete, immediately open the application and select the three-line icon located at the top left. Continue by selecting the Deep Scan Recovery option.
- Select the photo to be restored (restore)
- The application will then bring up all the photos that have been deleted from your Android device. Select one or more photos that you want to restore.
- Select ‘Restore to Gallery
- After opening the photo, select Restore to Gallery. The photo will then automatically reappear in the smartphone gallery.
In addition to Dumpster and other Android applications that are also available on the Play Store, you can use the help of other applications or software on PC devices. One of them is Wondershare Dr Fone.
2. How to Recover Deleted Photos Using Google Photos
Google Photos is one of the default applications from Google that functions for file management in the form of photos and videos widely used by Android smartphone users.
This application has various advantages, one of which is storing thousands of photos and can also be used as an alternative way to restore lost photos in the gallery.
In other words, you can restore deleted photos quickly in this application. The method? It is enough to follow these steps:
- Select the three-line icon
- Open the Google Photos application on your Android smartphone. Then select the three-line icon in the upper left.
- Select the ‘Trash’ menu
- Continue by selecting the Trash menu option.
- Select the photo to restore
- The app will then display all the photos that have ever been on your Android device, including those deleted.
- Select one or more photos that you want to restore.
- Restore photos
- Select the three-dot icon at the top right, then select Restore. The photo will automatically reappear in the gallery.
That’s how to restore photos to the gallery from Google Photos, gang.
Unfortunately, the steps above don’t apply to those who want a way to restore permanently deleted photos on Google Photos (Google Photos).Xiaomi cellphone without.
3. How to Recover Deleted Photos Without Application
In addition to using Google Photos or additional applications, you can also do how to restore deleted photos without an application on Android.
The reason is that currently, almost all Android phones are equipped with the Recycle Bin feature that you usually find on laptops.
For example, here, Jaka will do how to restore deleted photos on a Xiaomi cellphone without an application. You can also practice it on other brands of Android cellphones, yes!
- Open Gallery
- First, you open the Gallery application and select the three-dot icon menu in the upper right corner.
- After that, you select ‘Trash Bin‘.
- Select the photo to restore
- After being on the Trash Bin page, you select which photos to restore by tapping and holding the photo until a tick icon appears.
- Finally, select the ‘Restore‘ menu to restore it. These steps can also be done if you want a way to restore deleted photos on Android’s internal memory, gang.
- Using the Deleted Photo Recovery Application
In addition to using the Dumpster application above, you can also use another application called Deleted Photo Recovery, gang. Don’t worry about your storage memory being broken; this application is relatively light and friendly for standard-spec Android phones.
How to use it is also very easy. Just install it on the device, and then you can use this application to get photos that have been deleted.

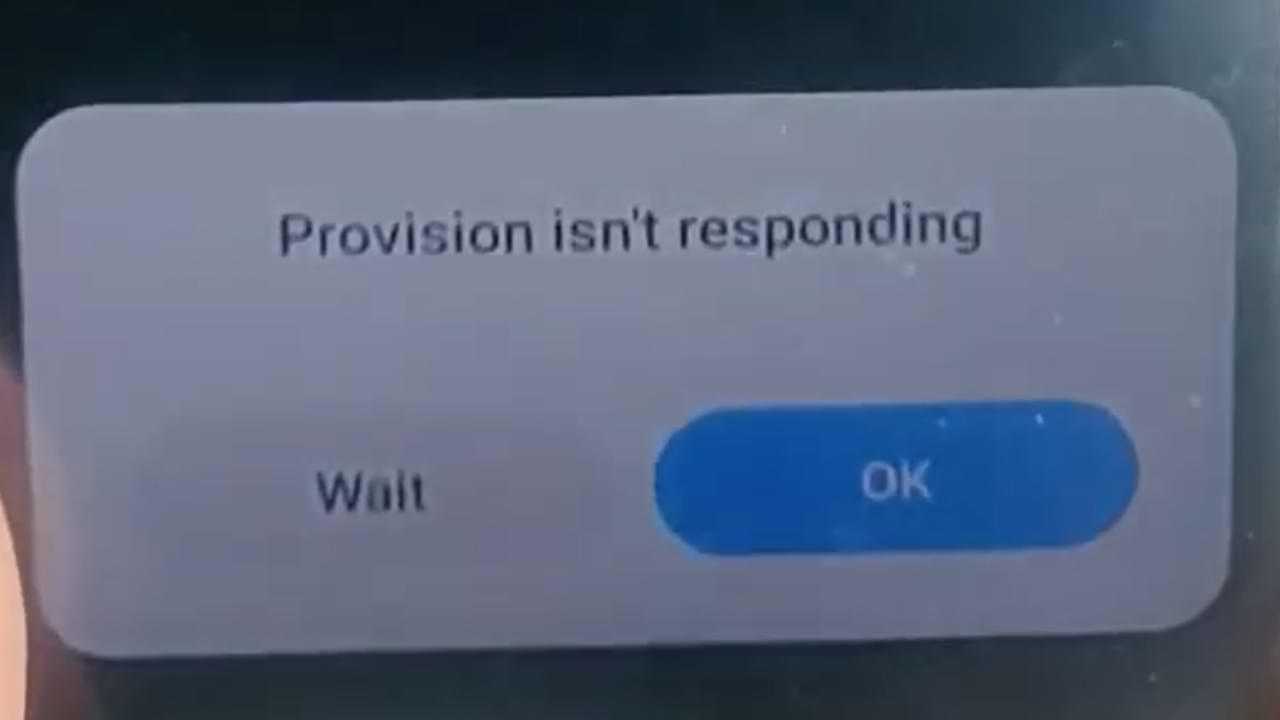
One of the most frequent problems that occur with Xiaomi cellphone users is the emergence of an error provision that isn’t responding to Xiaomi. This is a system not responding error.
Usually, this error occurs after we do a factory reset/factory reset, in some cases this error also appears shortly after we re-flash the cellphone.
Cause Appears Error provision isn’t responding on Xiaomi
Several factors might contribute to the app causing system instability and causing the System UI to trigger a provision isn’t responding error. In some cases, this problem can be caused by distortions in your data.
In other cases, it may also be due to the complexity of the installation or additional software installed on your system.
How to Overcome Provision isn’t responding Xiaomi:
1. Let your Xiaomi Phone solve this Problem Automatically
If this error appears after you did a factory reset. Then most likely your cellphone system has not finished installing the default system.
In this case, you should leave your phone alone until all the preinstall processes after the factory reset are complete. This process will run in the background, and will usually finish within 10 to 20 minutes. So just wait.
2. Connect your Xiaomi Phone to the Internet
After carrying out the factory reset process, there are several applications or cellphone systems that require an internet connection to work or just to check.
For that, it’s best to connect your Xiaomi phone shortly after doing a factory reset.
3. Update All Your MIUI Apps and System
Factory Reset will return your phone to the state it was in when you first bought it.
Automatically after a factory reset all of that will come back. So after doing a factory reset, immediately update your MIUI System and Apps to fix problems like this and the like.

If you try to visit a site and you see a web page cannot be opened notification appears, an error like this is almost the same as “This site cannot be reached”, or “Connection has timed out”. And it will automatically make you unable to open the site you are going to visit.
To help you deal with errors like this, here are fixing solutions you can do:
1. Clear Your Browser Cache
The first simple solution, you can clear your browser cache. Because deleting the cache in the browser can fix the temporary problem that is happening.
2. Try Using Another Browser and Disable Browser Plugins
The next solution is to try accessing the site from another browser, for example, if this error appears on the Firefox browser, you can try accessing the site on Google Chrome.
If the error still occurs, try disabling the browser plug-in. This is intended to avoid system conflicts in browsers.
3. Restart your Device
Then the next step is to restart your device.
4. Disable VPN Apps
If you use a VPN app, try temporarily disabling it. And access sites that have errors without a VPN application.
5. Wait a moment
If the three methods above haven’t worked, try waiting for a while, chances are the site you’re opening is currently under maintenance.
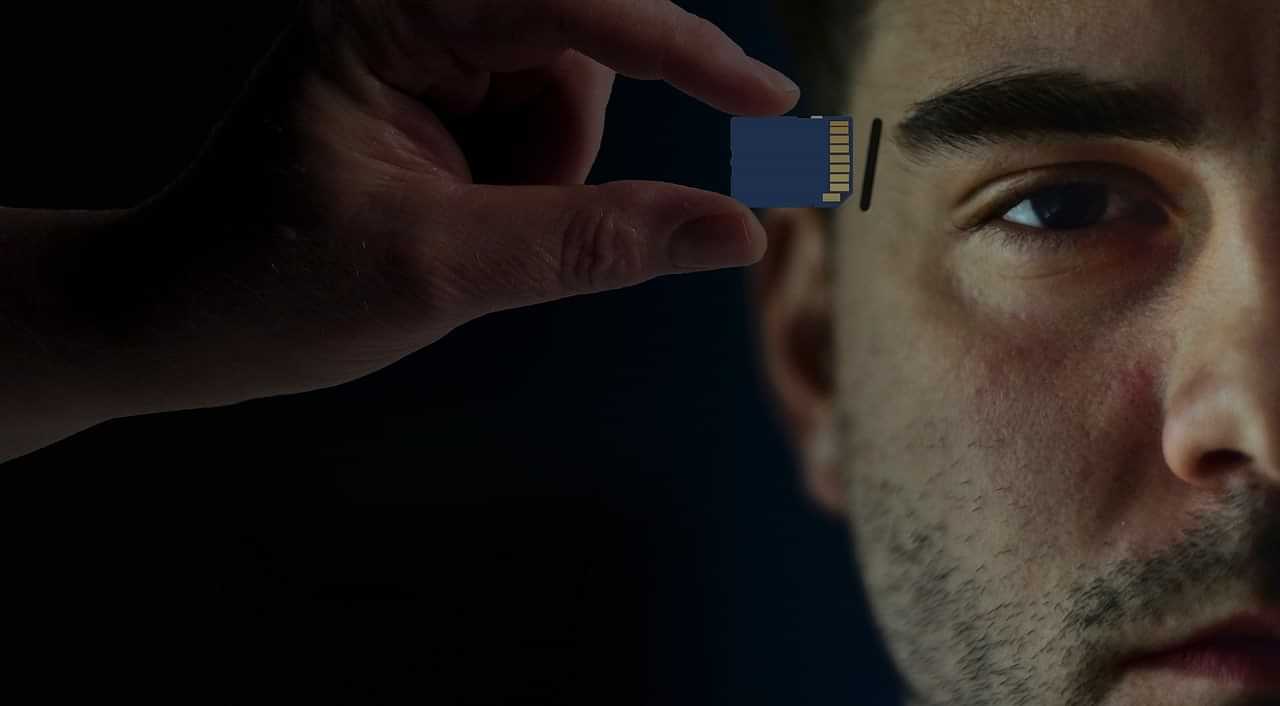
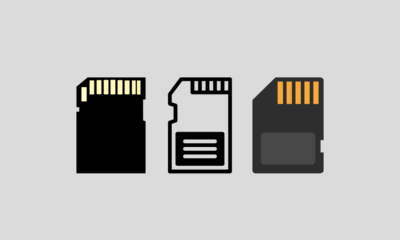
SD Card or Micro SD is one way to increase storage capacity on Android phones, but there are often common problems with this SD Card. One of them is an unreadable, corrupt, damaged SD Card and others.
SD Card and MicroSD can sometimes trigger problems when used on several types of android devices, both when copying files and moving files. And this is what triggers the error
- reading and writing (reading and writing)
- memory not detected
- request to format SD card
- and other errors.
Slow file access speed can also be a symptom of some damage to the SD Card / Micro SD.
If you are experiencing errors regarding the SD Card / MicroSD on your Android phone, here are some repair solutions that you can do.
First Solution: Update Your Android System
Updating your phone’s operating system and OS can fix a number of issues including those related to accessing files stored locally and on the SD card. Because in an update package there are several fixes and performance improvements.
Second Solution: Don’t Forget to Unlock the SD/MicroSD card before use
On some SD / Micro SD cards, there is an unlock feature before using the memory. Therefore, check and make sure the status has been unlocked before use.
Third Solution: Clean the SD Card Copper and Format
Next, try to clean the SD card on the copper part, if there is dust or foreign objects stuck it will block your android phone chip to read it.
And he continued by formatting it when it was finished cleaning.
Fourth Solution: Further Improvement
For further improvement, there are several articles that we have prepared previously, you can read them at the article link below and select the list of articles according to the problem you are facing.

Who Invented Lithium ion Batteries
SHARE More Imagine a world without smartphones, laptops, or electric cars. Crazy, right? These amazing devices rely on a powerful...


Who Invented SSD : A Journey From Invention To Innovation
SHARE More The dominance of Solid State Drives (SSDs) in modern data storage is undeniable. Their lightning-fast performance, superior reliability,...


Google Gemini: Your Super-Smart AI Sidekick (Made Easy!)
SHARE More Imagine a helpful friend who can write emails, translate languages, dream up creative ideas, and even write code!...

Who Invented Gorilla Glass for Mobile: Unveiling the Inventor and Its Impact
SHARE More In the ever-evolving landscape of mobile technology, Gorilla Glass has emerged as a revolutionary material, providing durability and...

The Evolution of Touch Screen Technology: A Journey into its Inventors and Innovations
SHARE More Touch screen technology has become an integral part of our daily lives, seamlessly blending with our smartphones, tablets,...

The Evolution of Memory Cards: Unraveling the Inventors Behind the Innovation
SHARE More In the fast-paced world of technology, memory cards have become an indispensable part of our daily lives. From...

Who Invented Sim Card | The Origin and Inventor of the SIM Card: A Revolutionary Communication Breakthrough
SHARE More In today’s digitally interconnected world, the SIM card stands as a tiny yet indispensable component of our daily...
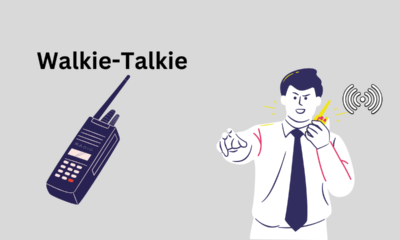

Who invented Walkie-Talkie | Exploring the Wonders of Walkie-Talkies: A Simple Guide for Beginners
SHARE More Walkie-talkies, often fondly referred to as “woki tokies,” are incredible communication devices that have stood the test of...
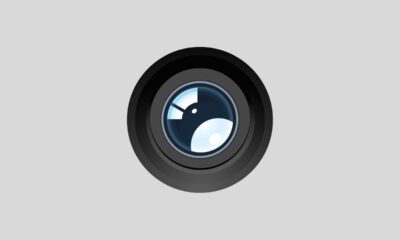

Who Invented Camera Lens : A Revolutionary Innovation in Photography
SHARE More The invention of the camera lens stands as a pivotal milestone in the history of photography, fundamentally altering...


The Evolution of Radio Broadcasting: Who Invented Radio?
SHARE More Radio broadcasting has been a cornerstone of communication, entertainment, and information dissemination for over a century. It revolutionized...
-
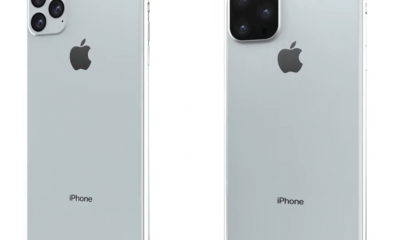
 Phones5 years ago
Apple iPhone 11 (2019) – Release, Info, Leaks, Rumors
-
![Huawei's New Operating System is HarmonyOS [ Officially ],harmony os,huawei new operating system, huawei harmony OS,](https://www.thedigitnews.com/wp-content/uploads/2019/08/Screenshot__2285_-removebg-preview-2-1-400x240.png)
![Huawei's New Operating System is HarmonyOS [ Officially ],harmony os,huawei new operating system, huawei harmony OS,](https://www.thedigitnews.com/wp-content/uploads/2019/08/Screenshot__2285_-removebg-preview-2-1-80x80.png) Phones5 years ago
Phones5 years agoHuawei New Operating System is HarmonyOS [ Officially ]
-

 News5 years ago
Belle Delphine bath water – Instagram Model Sells Used Bathwater For 30$ To Their Loyal Followers
-

 Tech5 years ago
Levi’s Bluetooth Jacket Lets You Control Your Smartphone