PC Tutorials
How to use and share the same mouse and keyboard on two or more computers
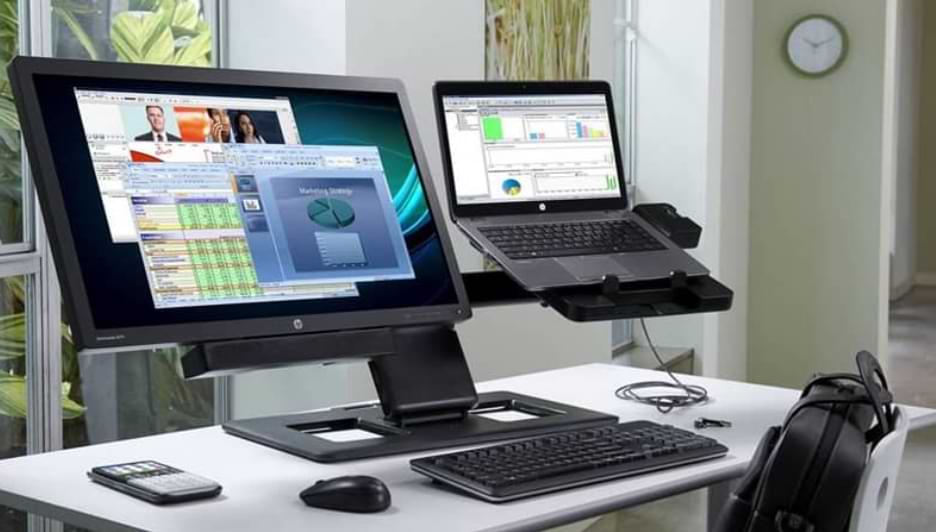
These days it is very common to meet someone who uses more than one computer at the same time to work, but constantly changing mouse and keyboard can become tedious. Therefore, today we will explain how to use and share the same mouse or mouse and keyboard on two or more computers simultaneously.
Below we will show you all the options that exist so that you can finally order your workstation in a comfortable way, eliminating all those extra cables, and optimizing the space you have. It is as simple as connecting a wireless keyboard to a PC.
Software to share mouse or mouse and keyboard on two or more computers
The first option you should consider if you use two or more computers and want to share the same mouse and keyboard is to download software that allows you to connect these devices to each PC. In this section, we will talk a little about some of the best software that you can use for this.
- USB Network Gate. Also known as USB over Ethernet, this software provides secure access to almost any device via a USB connection, even if they are not in the same room or if it is a Mac and a PC.
To use it, you only have to download the application on both computers: to which you have your mouse and keyboard physically connected, and to which you want to share this connection; and then choose ‘Share local USB devices’ and ‘Connect remote USB devices’, respectively.
- Synergy. This application was specifically designed to share mouse and keyboard on an unlimited number of computers via WiFi, whether they use Windows, Linux, or Mac. Just download it and you can even use a shared clipboard and customize hotkeys.

- Input Director. This application has the limitation that it can only be used on a Windows computer, but it allows you the same functions of sharing clipboards and customizing the hotkeys that Synergy offers.
- ShareMouse. This is probably the easiest application to use among those we have mentioned, but it has the peculiarity that it only works if all the computers that you want to control with the same mouse and keyboard are connected to the same WiFi network.
Use a KVM switch
If you still don’t know what a Switch is, we invite you to find out a bit about it before reading on. This piece of hardware will allow you to connect multiple computers to a single monitor, so you can control them all with a single mouse or mouse and a single keyboard.
All you need to do to make this work is connect all the computers to the switch, and connect your mouse and keyboard as well. Then, you must use the switches that the switch has to be able to control one or the other computer at the same time without changing the mouse or keyboard at any time.
Although it is easy-to-use hardware, and adaptable to both Windows and Mac, it can be very expensive (especially compared to the free software options that we mentioned in the previous section). This is not to mention that it can become annoying because of all the cables that connect to it.
Use a remote desktop application to share keyboard and mouse on two or more computers
Applications that allow you to have remote control of a computer are becoming more and more popular, especially if you have to telecommute and cannot take the PC you use at the office with you. Although sharing the mouse and keyboard is not exactly their main function, they are very useful to achieve this end.
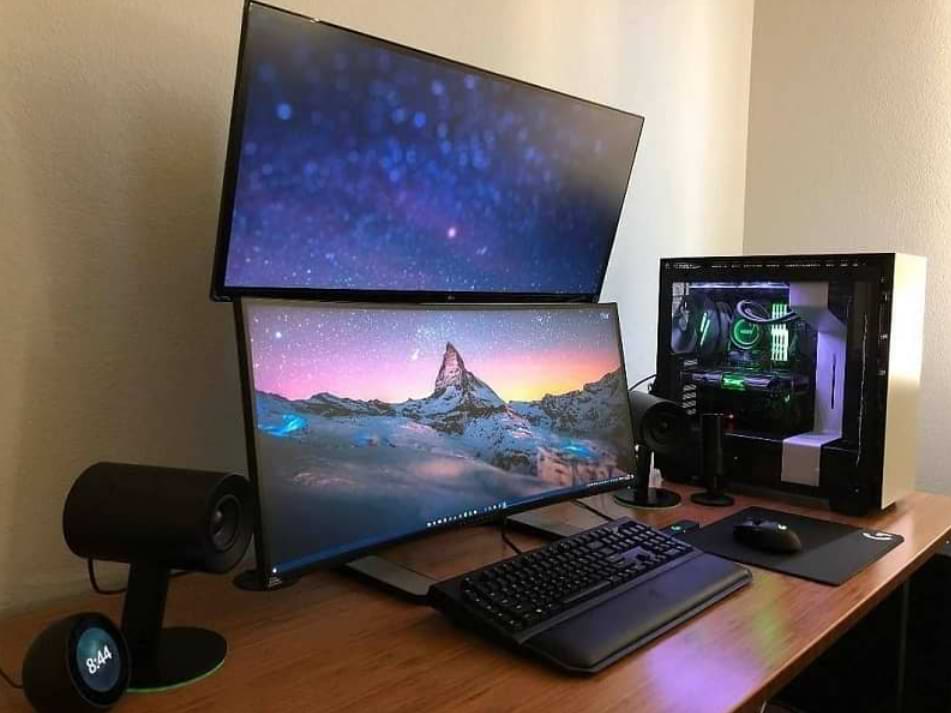
Today there are multiple remote desktop applications. Although TeamViewer is one of the most popular, there are many free alternatives to this app. By downloading any of these applications you will be able to access all the files and resources of the remote computer, including control over the keyboard and the mouse.
We hope that with any of the options that we show you in this article, you will be able to use and share the same mouse and keyboard on two or more computers simultaneously without any major problem. And remember that you can also connect a keyboard and mouse to your mobile if you wish.
PC Tutorials
How To Transfer Files From PC To iPhone Without iTunes
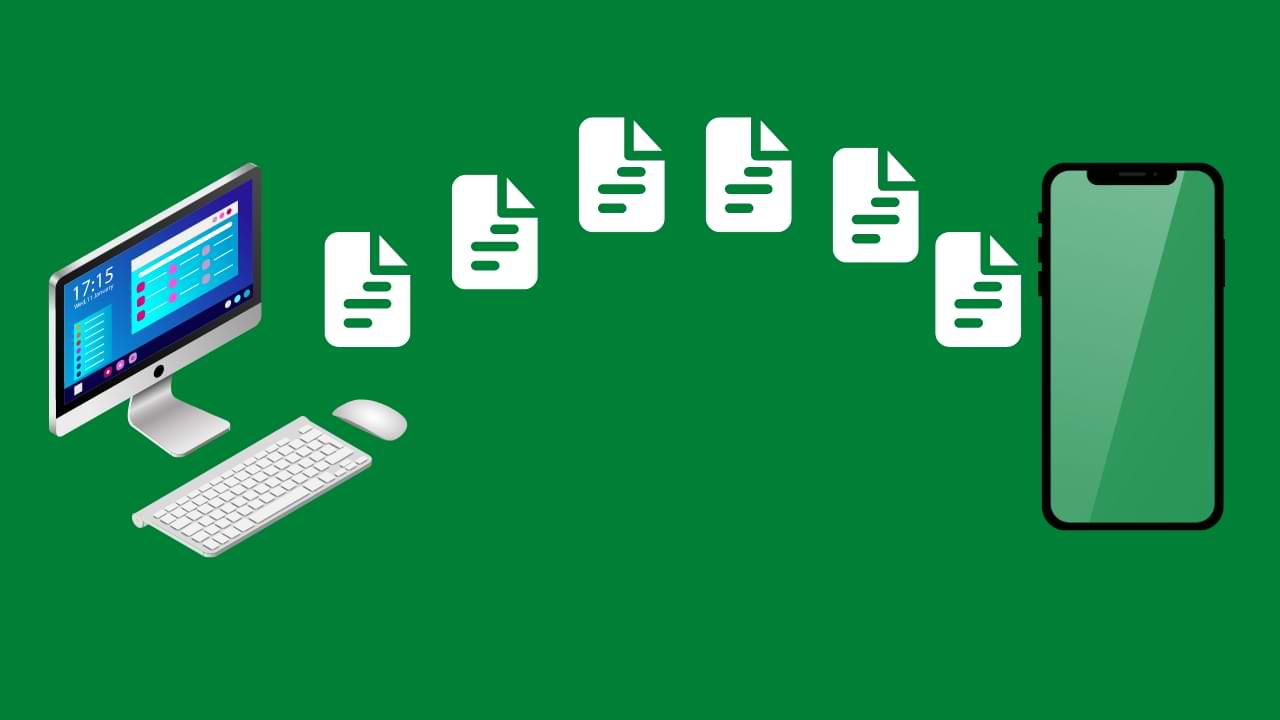
iTunes is a great tool for managing your music and videos on your iPhone, but it’s not always the easiest way to transfer files from your PC to your iPhone. If you’re looking for a way to transfer files from your PC to your iPhone without using iTunes, there are several methods available. In this article, we’ll take a look at a few of the easiest and most efficient ways to transfer files from your PC to your iPhone without iTunes.
Method 1: Using Email
One of the easiest ways to transfer files from your PC to your iPhone is through email. This method is simple and requires no additional software. To transfer files using email, simply attach the file to an email, send the email to yourself, and then open the email on your iPhone and save the attachment. This method works best for smaller files, as larger files may take a while to download on your iPhone.
Method 2: Using Dropbox
Another great way to transfer files from your PC to your iPhone without iTunes is through the use of Dropbox. Dropbox is a cloud-based file storage service that allows you to access your files from any device with an internet connection. To use Dropbox to transfer files from your PC to your iPhone, simply upload the file to your Dropbox account on your PC, and then download the file on your iPhone using the Dropbox app. This method is best for larger files, as it allows you to access the file on your iPhone without having to wait for it to download.
Method 3: Using Airdrop
Airdrop is a feature on Apple devices that allows you to quickly and easily transfer files from one Apple device to another without the need for an internet connection. To use Airdrop to transfer files from your PC to your iPhone, simply open the Airdrop feature on your Mac and select the file you want to transfer. Then, open Airdrop on your iPhone and select your Mac from the list of available devices. The file will then be transferred to your iPhone.
Method 4: Using Third-Party Software
If you’re looking for a more comprehensive solution for transferring files from your PC to your iPhone without iTunes, there are several third-party software options available. Some popular options include iMazing, AnyTrans, and WALTR 2. These programs allow you to transfer files of all types, including music, videos, and documents and typically offer a more user-friendly interface compared to iTunes.
Step 5: Download and install the app “iMazing” on your PC
iMazing is software that allows you to transfer files between your PC and iPhone without using iTunes. It is user-friendly software that is easy to use. You can download the iMazing app from the official website for free. Once you have downloaded the app, install it on your PC.
Step 6: Transfer files from your PC to your iPhone
To transfer files from your PC to your iPhone, click on the “File System” option on the iMazing app. From there, you can browse and select the files you want to transfer to your iPhone. Once you have selected the files, click on the “Copy to Device” button, and the transfer process will begin.
Conclusion:
There are several methods available for transferring files from your PC to your iPhone without iTunes. Whether you choose to use email, Dropbox, Airdrop, or a third-party software solution, the process of transferring files from your PC to your iPhone can be quick and easy. With these methods, you can easily transfer files from your PC to your iPhone without the hassle of iTunes.
PC Tutorials
How To Transfer Files From PC To iPhone Step By Step
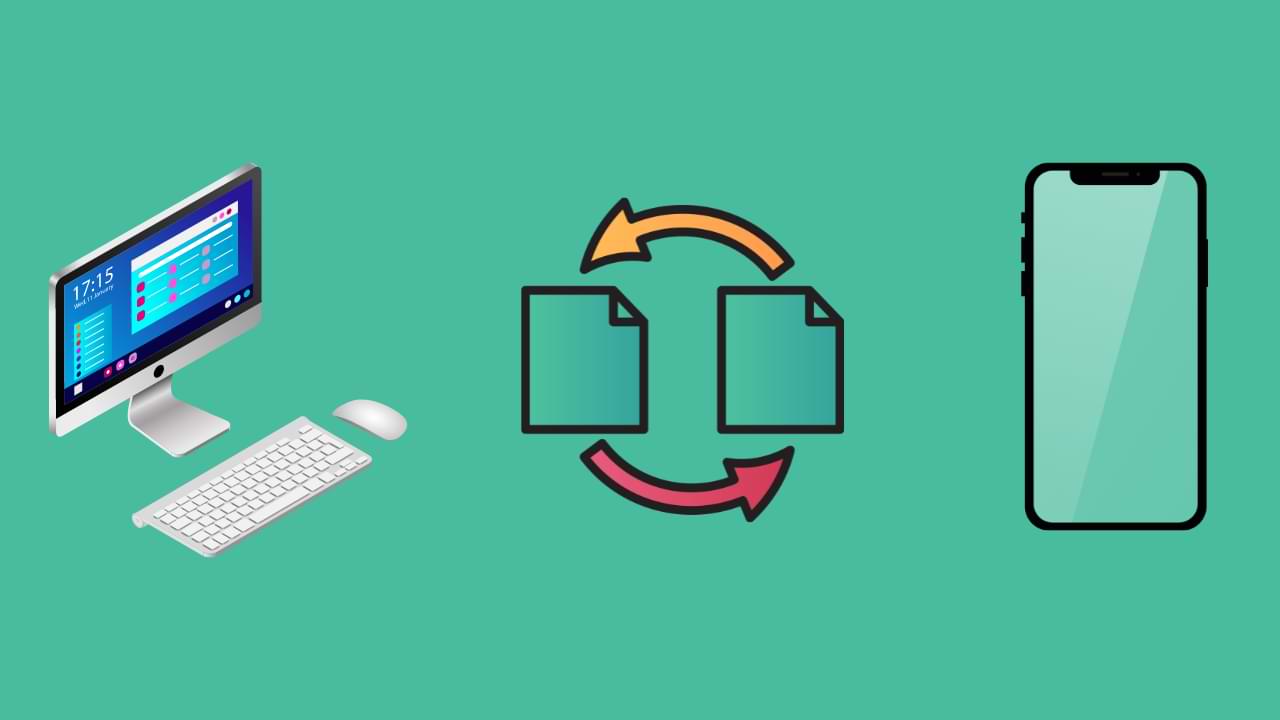
As technology continues to advance, people now have a wider range of options for transferring files from one device to another. However, transferring files from a PC to an iPhone can still be a confusing process for many users. In this article, we will provide a step-by-step guide on how to transfer files from PC to iPhone, making it an easy and hassle-free process for everyone.
Step 1: Connect Your iPhone to Your PC
The first step in transferring files from PC to iPhone is to connect your iPhone to your PC. To do this, simply use the USB cable that came with your iPhone and connects it to a USB port on your computer. Once your iPhone is connected to your computer, you will see a prompt on your iPhone asking you to trust the computer. Tap “Trust” to continue.
Step 2: Launch iTunes on Your PC
Once your iPhone is connected to your computer, launch iTunes on your PC. iTunes is a multimedia player and library that allows you to manage your iPhone and transfer files between the two devices. If you do not have iTunes installed on your computer, you can download it for free from the Apple website.
Step 3: Select Your iPhone in iTunes
Once you have launched iTunes, you should see your iPhone appear in the Devices section on the left-hand side of the screen. Click on your iPhone to select it.
Step 4: Browse Your iPhone’s Files in iTunes
Once your iPhone is selected, you will see a summary of its information on the main screen. From here, you can browse your iPhone’s files, such as music, photos, and videos, by clicking on the appropriate tabs on the left-hand side of the screen.
Step 5: Transfer Files from PC to iPhone
To transfer files from PC to iPhone, simply select the type of file you want to transfer (e.g. music, photos, or videos) and then click on the “Add” button. You can also drag and drop files from your PC to the iTunes window.
Step 6: Sync Your iPhone with iTunes
Once you have added the files you want to transfer to your iPhone, you need to sync your iPhone with iTunes. To do this, click on the “Sync” button in the bottom right-hand corner of the iTunes window. This will transfer the files from your PC to your iPhone.
Step 7: Disconnect Your iPhone from Your PC
Once the sync is complete, you can safely disconnect your iPhone from your PC. To do this, simply click on the “Eject” button next to your iPhone in the Devices section of iTunes and then unplug the USB cable from your iPhone.
In conclusion, transferring files from PC to iPhone is a simple process that can be done with a few clicks in iTunes. By following these step-by-step instructions, you can easily transfer files between your PC and iPhone and enjoy your media on the go.
PC Tutorials
Did You Know, You Can Upgrade Windows 7 To Windows 11 Via Inplace Upgrade
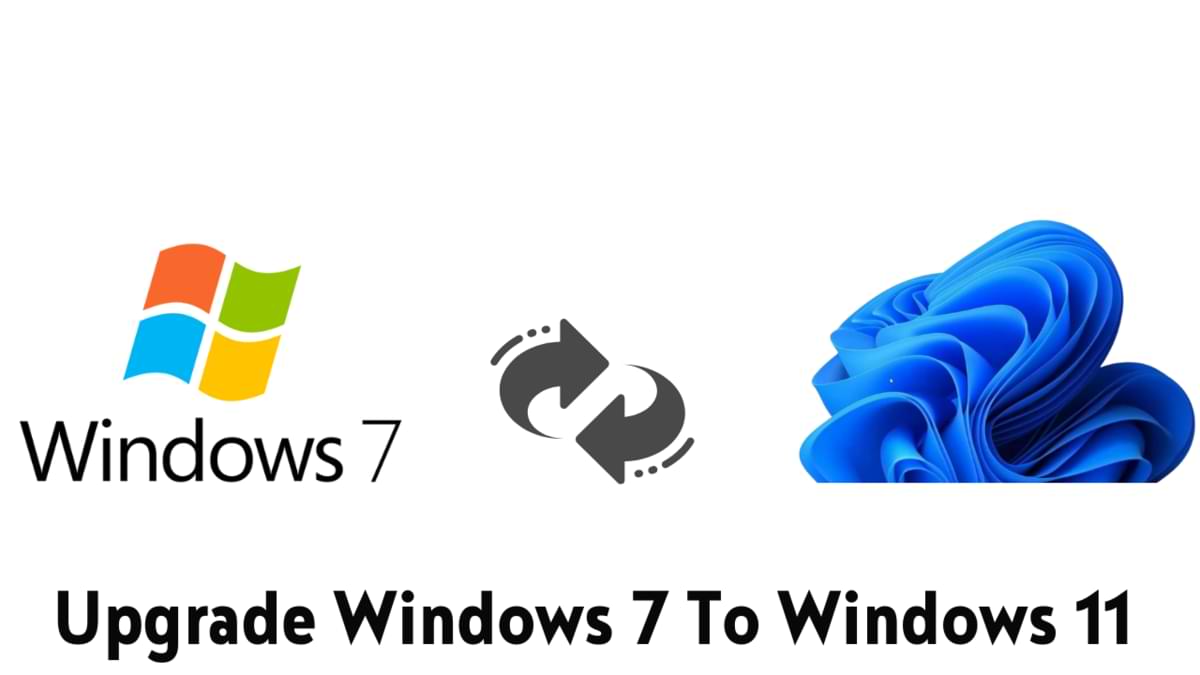
How To Upgrade Windows 7 To Windows 11
Upgrade Windows 7 To Windows 11 : As we know, Microsoft released Windows 11 with lots of requirements that we need to adjust, and of course, previously there was no way to upgrade from Windows 7 to Windows 11 except from Windows 10.
But recently there is an interesting trick that makes it no longer impossible, where it turns out that we can upgrade from Windows 7 to Windows 11 with a fairly simple trick.
You can see the tutorial itself in the video from NTDEV below.
Based on the video above, you only need Windows 11 ISO, Windows 10 ISO TH1 (1507) or TH2 (1511) and gimagex _x64. Then you can follow these short steps:
- Unzip Windows 10 TH1 or TH2 ISO on PC
- Copy UpgradeMatrix.xml from unzipped ISO to desktop
- Mount ISO Windows 11 dan copy install.wim kedalam ISO Windows 10
- Next, run the inplace upgrade as usual, and you can install Windows 11 as usual.
Looks easy doesn’t it?, please try it, maybe later I will also write a more complete article about this in the next tutorial.
What do you think? comment below guys.
Via: NTDEV
-
 Phones5 years ago
Apple iPhone 11 (2019) – Release, Info, Leaks, Rumors
-
![Huawei's New Operating System is HarmonyOS [ Officially ],harmony os,huawei new operating system, huawei harmony OS,](https://www.thedigitnews.com/wp-content/uploads/2019/08/Screenshot__2285_-removebg-preview-2-1-400x240.png)
![Huawei's New Operating System is HarmonyOS [ Officially ],harmony os,huawei new operating system, huawei harmony OS,](https://www.thedigitnews.com/wp-content/uploads/2019/08/Screenshot__2285_-removebg-preview-2-1-80x80.png) Phones5 years ago
Phones5 years agoHuawei New Operating System is HarmonyOS [ Officially ]
-

 News5 years ago
Belle Delphine bath water – Instagram Model Sells Used Bathwater For 30$ To Their Loyal Followers
-

 Tech5 years ago
Levi’s Bluetooth Jacket Lets You Control Your Smartphone


