iPhone
iPhone 14 will receive front cameras from a Korean supplier
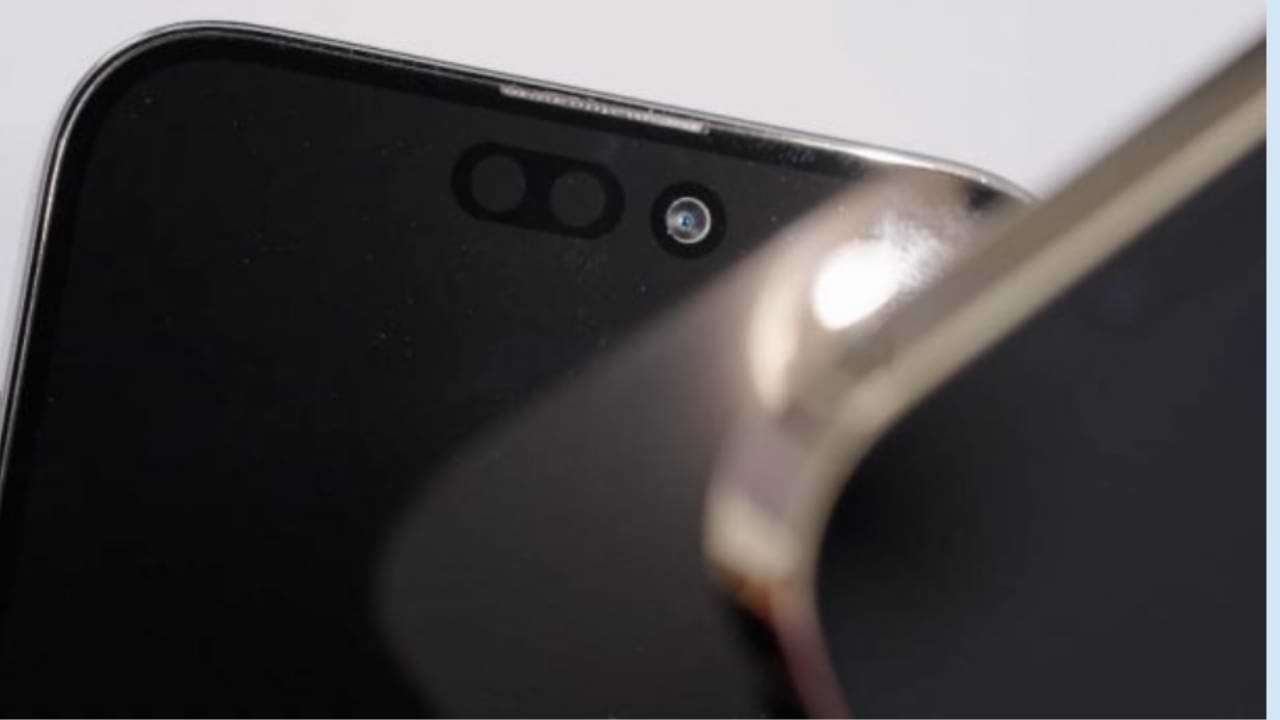
iPhone 14 will be in production from the summer. We learn that Apple diversifies suppliers and acquires front cameras from Koreans from LG Innotek. This is an exciting change because these were components provided only by Chinese companies or Sharp so far. With the iPhone 14 models, this is finally going to change.
The iPhone 14 will usher in something that Apple initially planned to do on the occasion of next year’s 15 series models. These changes include front cameras, which, after all, will not only come from Chinese component suppliers or the Japanese from Sharp. Korean media reports that the giant will also acquire them from LG Innotek.
Koreans from LG Innotek were supposed to supply components for the 15 models, but Apple sped up the diversification process involving the front cameras of iOS phones. This will start with this year’s iPhone 14 smartphones. The cost of this component is low, but it is still an essential element of the entire phone.
Apple iPhone 14 with the premiere in September
We know that the premiere of smartphones from the iPhone 14 series will take place in a few months, and this is to take place in the third week of September. The phones will bring a lot of news that will appear primarily in Pro models. They will include screens and cameras to get primary sensors with 48 MP matrices.
iPhone
How to Fix Drag and Drop Not Working on iPhone
Drag and drop is a feature that is widely used by iPhone users to transfer files from one location to another within their device. However, there are times when this feature may stop working, leading to frustration and inconvenience for the users. In this article, we will discuss the reasons for drag and drop not working on iPhones and provide step-by-step instructions on how to fix this issue.
Reasons for Drag and Drop Not Working on iPhone
There are several reasons why drag and drop may not be working on your iPhone. Some of the common causes include:
- Outdated iOS: One of the primary reasons for drag and drop not working on an iPhone could be the outdated iOS version. Apple releases updates regularly to fix bugs and improve the overall performance of its devices. Make sure that your iPhone is running the latest version of iOS.
- Accessibility Settings: Another reason for drag and drop not working could be the accessibility settings on your device. If you have turned off the accessibility settings for drag and drop, this could be the reason for the issue.
- Broken Screen: If your iPhone’s screen is cracked, it may cause drag and drop to stop working. A broken screen can cause problems with the touch-sensitive areas, leading to the feature not functioning properly.
- Corrupted Files: Sometimes, the files themselves may be corrupted, which can cause drag and drop not to work. If this is the case, you will need to delete the corrupted files and transfer new ones.
Step-by-Step Guide to Fix Drag and Drop Not Working on iPhone
Here is a step-by-step guide on how to fix drag and drop not working on iPhone:
Step 1: Update iOS
If your iPhone is running an outdated version of iOS, this could be the reason for drag and drop not working. To update iOS, follow these steps:
- Open the Settings app on your iPhone.
- Tap on “General.”
- Tap on “Software Update.”
- If there is an update available, tap on “Download and Install.”
- Follow the on-screen instructions to complete the update process.
Step 2: Check Accessibility Settings
If updating iOS does not fix the drag-and-drop issue, the next step is to check the accessibility settings on your device. To do this, follow these steps:
- Open the Settings app on your iPhone.
- Tap on “General.”
- Tap on “Accessibility.”
- Tap on “Touch.”
- Ensure that the “3D & Haptic Touch” option is turned on.
- If it is not turned on, turn it on and see if this fixes the issue.
Step 3: Repair the Screen
If your iPhone’s screen is cracked, this could be the reason for drag and drop not working. In this case, you will need to repair the screen to fix the issue. If you are not comfortable repairing the screen yourself, take your device to a professional repair shop.
Step 4: Delete Corrupted Files
If the files themselves are corrupted, they may cause drag and drop to stop working. To fix this issue, you will need to delete the corrupted files and transfer new ones.
- Open the Files app on your iPhone.
- Locate the corrupted file.
- Tap and hold the file until a menu appears.
- Tap on “Delete.”
- Repeat this process for all the corrupted files.
- Transfer new files to your device.
Step 5: Check Your Operating System
The first step to fix drag and drop not working is to make sure you have the latest operating system installed on your iPhone. You can check this by going to Settings > General > Software Update. If there is an update available, download and install it. This may fix the issue if it was caused by a software glitch in your operating system.
Step 6: Restart Your iPhone
Sometimes, a simple restart can fix the drag and drop not working issue. To restart your iPhone, hold down the side button and either of the volume buttons until the power off slider appears. Slide to power off, then press the side button to turn on your iPhone.
Step 7: Force Restart Your iPhone
If a simple restart doesn’t work, try a force restart. To do this, press and hold the side button and either of the volume buttons until the Apple logo appears. This will erase the temporary files that might be causing the drag and drop not working issue.
Step 8: Reset Your iPhone
If a force restart doesn’t work, you can reset your iPhone. To reset your iPhone, go to Settings > General > Reset > Erase All Content and Settings. This will erase all your data and settings, so be sure to back up your iPhone before resetting it. After resetting your iPhone, set it up as new and try the drag-and-drop feature again.
Step 9: Disable and Enable the Drag and Drop Feature
Sometimes, disabling and enabling the drag-and-drop feature can fix the issue. To do this, go to Settings > General > Accessibility > AssistiveTouch. Turn on the switch for AssistiveTouch and try the drag-and-drop feature again. If it works, turn off the switch for AssistiveTouch and try the drag-and-drop feature again.
Step 10: Reset Your Network Settings
If the drag and drop not working issue persists, resetting your network settings may help. To reset your network settings, go to Settings > General > Reset > Reset Network Settings. This will erase your Wi-Fi passwords and other network settings, so be sure to have them handy when you set up your network again.
Step 11: Contact Apple Support
If none of the above steps worked for you, it may be a hardware issue with your iPhone. In this case, you should contact Apple Support for further assistance. They may suggest taking your iPhone to an Apple Store for a hardware check.
In conclusion
Drag and drop not working on your iPhone can be fixed with a few simple steps. Whether it’s a software glitch, an outdated operating system, or a hardware issue, there are several ways to get your drag-and-drop feature working again. If none of the above steps work for you, contact Apple Support for further assistance.
iPhone
How to Enable Power On / Off Sounds on iPhone 14 Series
Enabling power on and off sounds on your iPhone 14 series is a simple and straightforward process. This feature adds a sound effect to your device when you turn it on and off, adding an extra layer of customization to your device. Here are the steps to enable power on and off sounds on your iPhone 14 series.
- Open the Settings app: To access your iPhone’s settings, tap the “Settings” app icon on your home screen or app drawer.
- Scroll down to “Sounds & Haptics“: In the settings menu, scroll down until you find the “Sounds & Haptics” option and tap it.
- Enable Power On/Off Sounds: Under the “Sounds and Vibrations Patterns” section, toggle the switch next to “Power On/Off Sound” to the on position. This will enable the power on and off sounds.
- Adjust Sound Volume: If you want to adjust the volume of the power on and off sounds, you can use the volume slider located under the “Power On/Off Sound” toggle switch.
- Save changes: Once you have made your changes, simply exit the settings app, and your changes will be saved automatically.
That’s it! Now, every time you turn your iPhone 14 series on or off, you’ll hear the sound effect you have selected. Keep in mind that you can always disable the power on and off sounds by following the above steps and toggling the “Power On/Off Sound” switch to the off position.
In conclusion, enabling power on and off sounds on your iPhone 14 series is a quick and easy process that adds a personal touch to your device. Whether you want a simple tone or a more elaborate sound effect, this feature allows you to choose the audio experience that works best for you.
iPhone
How To Raise Hand in Zoom on iPhone & iPad
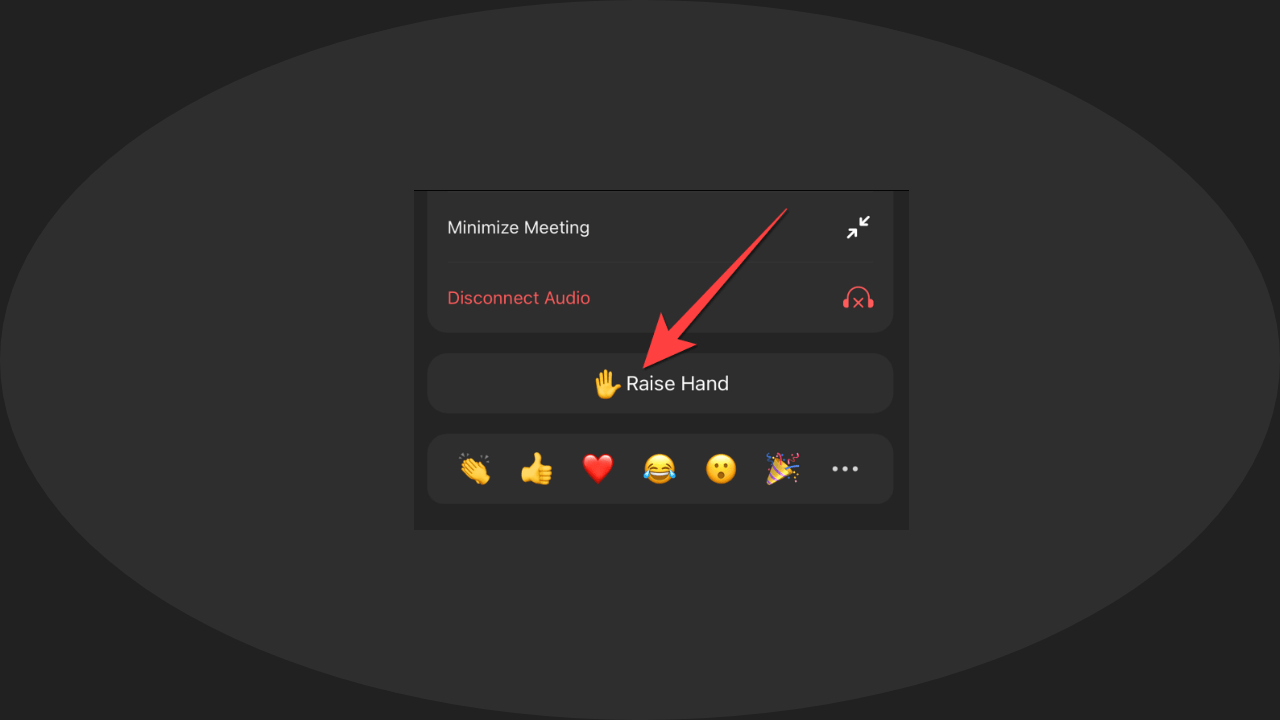
Raising your hand in Zoom on an iPhone or iPad can be a simple process that allows you to indicate that you have a question or comment during a virtual meeting. By following a few simple steps, you can effectively communicate with your coworkers, classmates, or friends while in a Zoom session.
Step 1: Join a Zoom Meeting
To raise your hand in Zoom, you must first join a Zoom meeting. You can do this by clicking on the Zoom app on your iPhone or iPad and opening the app. You will then see a “Join a Meeting” button, which you should click to start the Zoom session. You will be prompted to enter the meeting ID or the URL of the Zoom meeting.
Step 2: Participate in the Meeting
Once you have joined the Zoom meeting, you will be able to participate in the conversation by using the audio and video features. To turn on your video, tap the “Start Video” button on the bottom of your screen. If you prefer to use audio only, tap the “Start Audio” button.
Step 3: Raise Your Hand
Now that you are in the Zoom meeting, you can raise your hand to indicate that you would like to speak. To do this, simply tap the “Raise Hand” button, which is located in the bottom left corner of your screen. The host of the meeting will then be able to see that you have raised your hand and can give you the opportunity to speak.
Step 4: Wait for Your Turn
Once you have raised your hand, you should wait for your turn to speak. The host of the meeting will typically call on you by name or by the order in which your hand was raised. When it is your turn to speak, simply begin talking into your microphone or iPhone.
Step 5: Lower Your Hand
After you have finished speaking, it is important to lower your hand. To do this, simply tap the “Lower Hand” button, which is located in the bottom left corner of your screen. This will indicate to the host of the meeting that you are done speaking and that someone else may now raise their hand.
Step 6: End the Meeting
When the Zoom meeting is over, you can simply tap the “End Meeting” button in the bottom right corner of your screen. This will end the Zoom session and allow you to exit the meeting.
In conclusion, raising your hand in Zoom on an iPhone or iPad is a simple process that allows you to effectively communicate with others during a virtual meeting. By following the steps outlined above, you can raise your hand, wait for your turn to speak, and lower your hand when you are done. With these simple steps, you can effectively participate in Zoom meetings and make your voice heard.
-
 Phones5 years ago
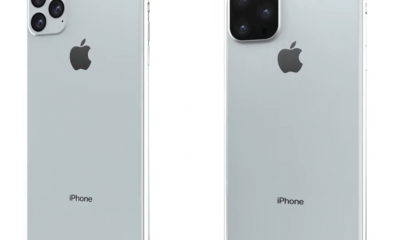
Apple iPhone 11 (2019) – Release, Info, Leaks, Rumors
-
![Huawei's New Operating System is HarmonyOS [ Officially ],harmony os,huawei new operating system, huawei harmony OS,](https://www.thedigitnews.com/wp-content/uploads/2019/08/Screenshot__2285_-removebg-preview-2-1-400x240.png)
![Huawei's New Operating System is HarmonyOS [ Officially ],harmony os,huawei new operating system, huawei harmony OS,](https://www.thedigitnews.com/wp-content/uploads/2019/08/Screenshot__2285_-removebg-preview-2-1-80x80.png) Phones5 years ago
Phones5 years agoHuawei New Operating System is HarmonyOS [ Officially ]
-

 News5 years ago
Belle Delphine bath water – Instagram Model Sells Used Bathwater For 30$ To Their Loyal Followers
-

 Tech5 years ago
Levi’s Bluetooth Jacket Lets You Control Your Smartphone


