
PC Tutorials
Did You Know, You Can Upgrade Windows 7 To Windows 11 Via Inplace Upgrade
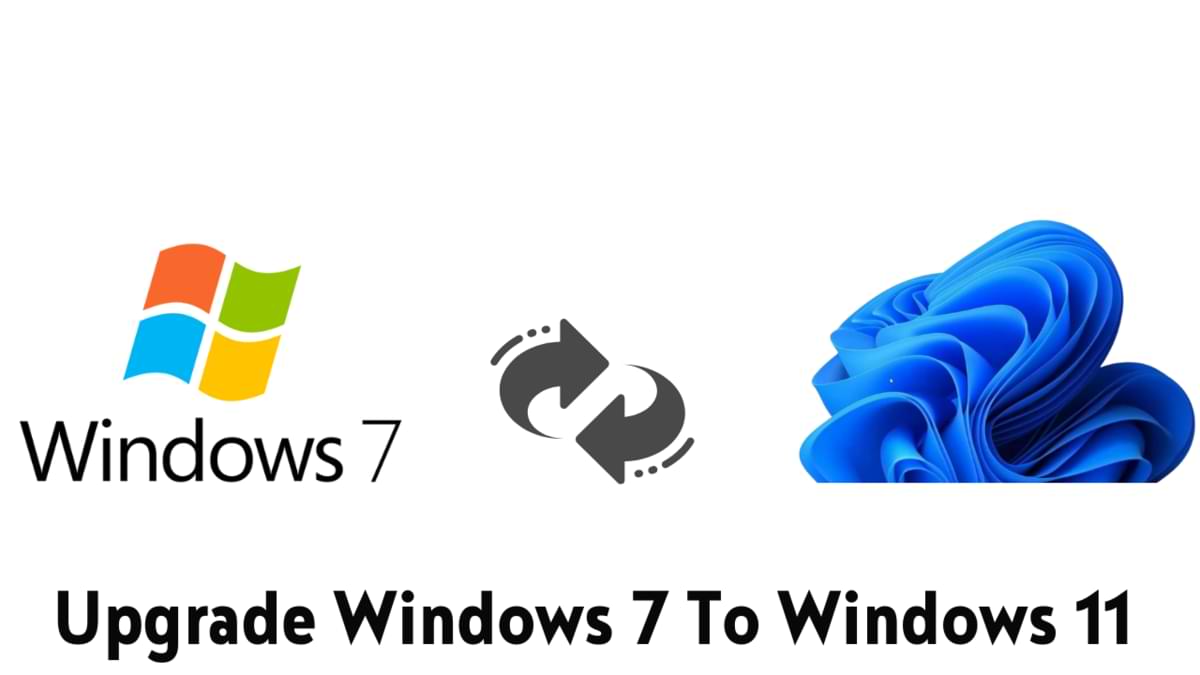
How To Upgrade Windows 7 To Windows 11
Upgrade Windows 7 To Windows 11 : As we know, Microsoft released Windows 11 with lots of requirements that we need to adjust, and of course, previously there was no way to upgrade from Windows 7 to Windows 11 except from Windows 10.
But recently there is an interesting trick that makes it no longer impossible, where it turns out that we can upgrade from Windows 7 to Windows 11 with a fairly simple trick.
You can see the tutorial itself in the video from NTDEV below.
Based on the video above, you only need Windows 11 ISO, Windows 10 ISO TH1 (1507) or TH2 (1511) and gimagex _x64. Then you can follow these short steps:
- Unzip Windows 10 TH1 or TH2 ISO on PC
- Copy UpgradeMatrix.xml from unzipped ISO to desktop
- Mount ISO Windows 11 dan copy install.wim kedalam ISO Windows 10
- Next, run the inplace upgrade as usual, and you can install Windows 11 as usual.
Looks easy doesn’t it?, please try it, maybe later I will also write a more complete article about this in the next tutorial.
What do you think? comment below guys.
Via: NTDEV

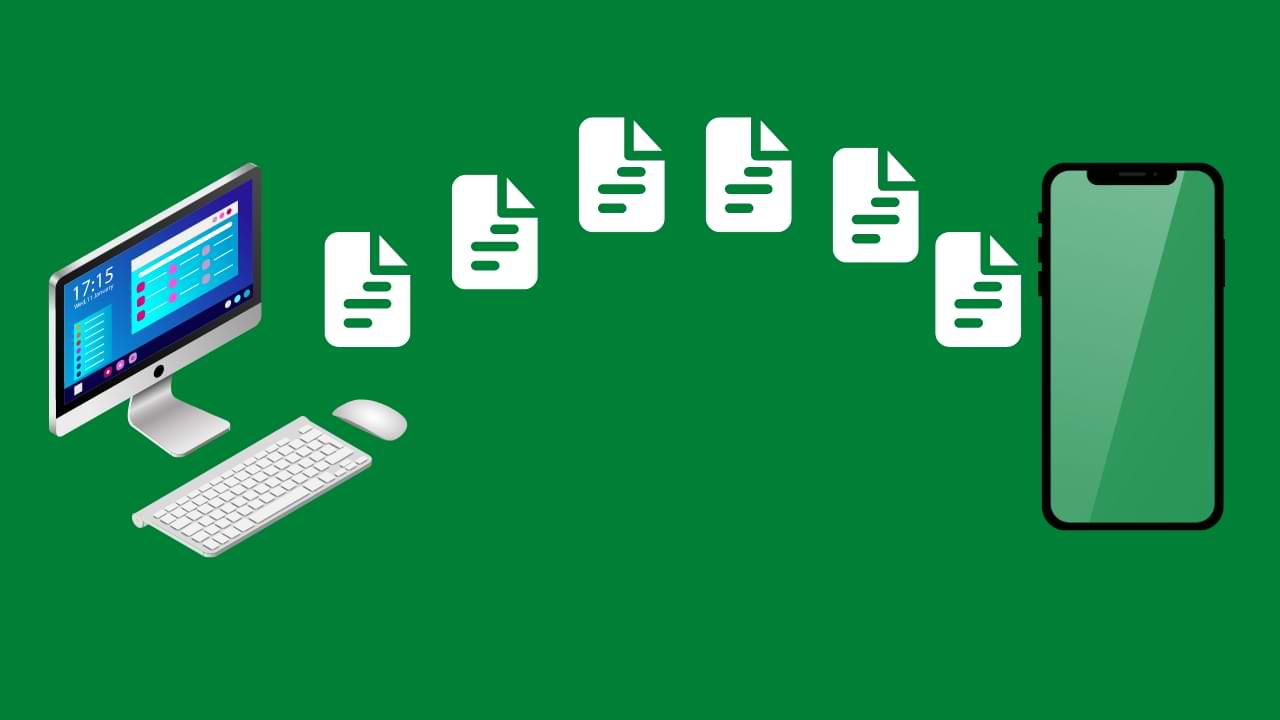
iTunes is a great tool for managing your music and videos on your iPhone, but it’s not always the easiest way to transfer files from your PC to your iPhone. If you’re looking for a way to transfer files from your PC to your iPhone without using iTunes, there are several methods available. In this article, we’ll take a look at a few of the easiest and most efficient ways to transfer files from your PC to your iPhone without iTunes.
Method 1: Using Email
One of the easiest ways to transfer files from your PC to your iPhone is through email. This method is simple and requires no additional software. To transfer files using email, simply attach the file to an email, send the email to yourself, and then open the email on your iPhone and save the attachment. This method works best for smaller files, as larger files may take a while to download on your iPhone.
Method 2: Using Dropbox
Another great way to transfer files from your PC to your iPhone without iTunes is through the use of Dropbox. Dropbox is a cloud-based file storage service that allows you to access your files from any device with an internet connection. To use Dropbox to transfer files from your PC to your iPhone, simply upload the file to your Dropbox account on your PC, and then download the file on your iPhone using the Dropbox app. This method is best for larger files, as it allows you to access the file on your iPhone without having to wait for it to download.
Method 3: Using Airdrop
Airdrop is a feature on Apple devices that allows you to quickly and easily transfer files from one Apple device to another without the need for an internet connection. To use Airdrop to transfer files from your PC to your iPhone, simply open the Airdrop feature on your Mac and select the file you want to transfer. Then, open Airdrop on your iPhone and select your Mac from the list of available devices. The file will then be transferred to your iPhone.
Method 4: Using Third-Party Software
If you’re looking for a more comprehensive solution for transferring files from your PC to your iPhone without iTunes, there are several third-party software options available. Some popular options include iMazing, AnyTrans, and WALTR 2. These programs allow you to transfer files of all types, including music, videos, and documents and typically offer a more user-friendly interface compared to iTunes.
Step 5: Download and install the app “iMazing” on your PC
iMazing is software that allows you to transfer files between your PC and iPhone without using iTunes. It is user-friendly software that is easy to use. You can download the iMazing app from the official website for free. Once you have downloaded the app, install it on your PC.
Step 6: Transfer files from your PC to your iPhone
To transfer files from your PC to your iPhone, click on the “File System” option on the iMazing app. From there, you can browse and select the files you want to transfer to your iPhone. Once you have selected the files, click on the “Copy to Device” button, and the transfer process will begin.
Conclusion:
There are several methods available for transferring files from your PC to your iPhone without iTunes. Whether you choose to use email, Dropbox, Airdrop, or a third-party software solution, the process of transferring files from your PC to your iPhone can be quick and easy. With these methods, you can easily transfer files from your PC to your iPhone without the hassle of iTunes.

As technology continues to advance, people now have a wider range of options for transferring files from one device to another. However, transferring files from a PC to an iPhone can still be a confusing process for many users. In this article, we will provide a step-by-step guide on how to transfer files from PC to iPhone, making it an easy and hassle-free process for everyone.
Step 1: Connect Your iPhone to Your PC
The first step in transferring files from PC to iPhone is to connect your iPhone to your PC. To do this, simply use the USB cable that came with your iPhone and connects it to a USB port on your computer. Once your iPhone is connected to your computer, you will see a prompt on your iPhone asking you to trust the computer. Tap “Trust” to continue.
Step 2: Launch iTunes on Your PC
Once your iPhone is connected to your computer, launch iTunes on your PC. iTunes is a multimedia player and library that allows you to manage your iPhone and transfer files between the two devices. If you do not have iTunes installed on your computer, you can download it for free from the Apple website.
Step 3: Select Your iPhone in iTunes
Once you have launched iTunes, you should see your iPhone appear in the Devices section on the left-hand side of the screen. Click on your iPhone to select it.
Step 4: Browse Your iPhone’s Files in iTunes
Once your iPhone is selected, you will see a summary of its information on the main screen. From here, you can browse your iPhone’s files, such as music, photos, and videos, by clicking on the appropriate tabs on the left-hand side of the screen.
Step 5: Transfer Files from PC to iPhone
To transfer files from PC to iPhone, simply select the type of file you want to transfer (e.g. music, photos, or videos) and then click on the “Add” button. You can also drag and drop files from your PC to the iTunes window.
Step 6: Sync Your iPhone with iTunes
Once you have added the files you want to transfer to your iPhone, you need to sync your iPhone with iTunes. To do this, click on the “Sync” button in the bottom right-hand corner of the iTunes window. This will transfer the files from your PC to your iPhone.
Step 7: Disconnect Your iPhone from Your PC
Once the sync is complete, you can safely disconnect your iPhone from your PC. To do this, simply click on the “Eject” button next to your iPhone in the Devices section of iTunes and then unplug the USB cable from your iPhone.
In conclusion, transferring files from PC to iPhone is a simple process that can be done with a few clicks in iTunes. By following these step-by-step instructions, you can easily transfer files between your PC and iPhone and enjoy your media on the go.
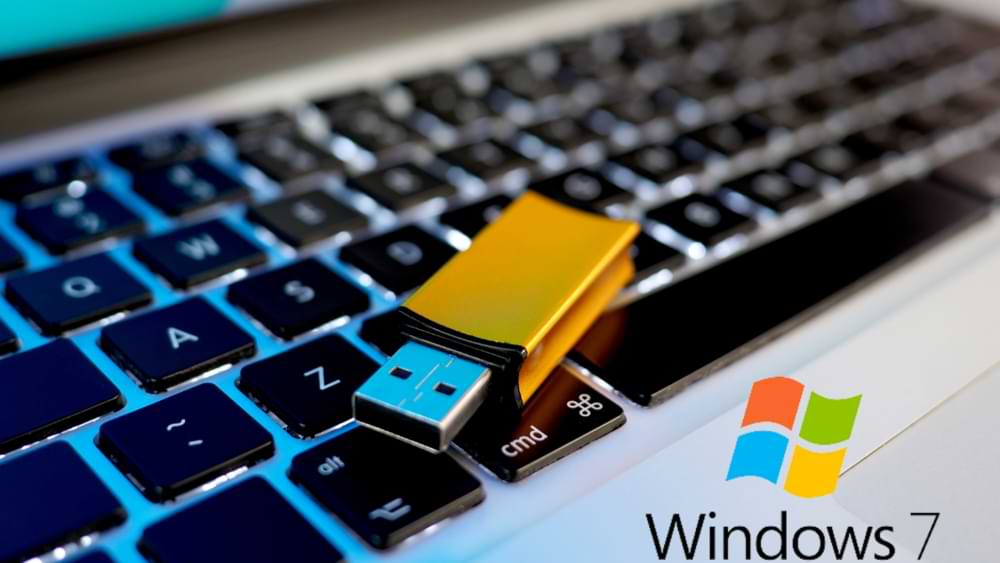
Many times, when it comes to repairing or formatting a computer, we come across an important problem: that it does not have a CD or DVD drive through which we can perform these actions. However, this problem has a much easier solution than you think, a method that only requires a bootable USB, compatible with the built-in USB inputs in all types of equipment.
Don’t you know what a bootable USB is? Do you know what it is but you don’t know how to make your USB drive bootable? Do you need to format a computer that doesn’t have a CD or DVD reader? Don’t worry, we answer all these questions and also show you how to install Windows 7 from USB – step by step. Let’s go there!
What is a bootable USB
A bootable USB drive has the function of housing an operating system or software that, in addition, can be booted from the start of the computer, allowing adjustments to be made to the computer’s base system or completely formatted. Bootable USBs have the same functions as a CD or DVD, but also offer the possibility of storing other files on their memory, since it shares the peculiarities of a classic USB and a bootable drive.
These bootable USB drives are ideal for newer computers since these usually do not have a built-in CD or DVD drive and, without bootable USB drives, these computers would have serious problems repairing and booting their system in certain cases, as well as formatting them completely. For their part, these drives are so versatile that they also allow data recovery, complete systems administration, and many other functions without the need to affect computer files; the best of all? you can change its functions as many times as necessary without any risk.
In a bootable USB drive, you can install a complete operating system and use it from a computer with a different system and, in addition, you can also install any type of software, from editing programs to video games. To create your own bootable USB with Windows 7, follow the steps below:
- The first thing you should do is make your USB bootable or bootable. To do this, connect your USB drive to your computer and check that it has 4 or more GB of storage.
- Next, go to the Windows “Start” menu and select the “All Programs” option. Go to “Accessories” and right-click on “Command Prompt”. You must run this last option as an administrator.
- When the MS-DOS pop-up window opens (you will recognize it by its black background), you will see new commands that will tell the system that the USB drive should be made Bootable. To achieve this, type “diskpart” and hit “Enter”.
- After this step, you must wait for the word “diskpart” to appear again and type “list disk” before pressing Enter. When you have done this, the storage disk units that your computer has will appear, even removable ones such as USB.
- Don’t get lost, because to carry out the next step, you will have to write “select disk” plus the number or letter to which the USB drive belongs. Once again, hit Enter.
- Then type “clean” and hit Enter; This last action is the one that will finally format the USB drive. You must be very careful not to select the wrong unit.
- When this action has been processed, type “create partition primary” and hit Enter. Keep typing “select partition 1” and hit Enter again. When you’ve done this, type “active” and, as always, hit Enter.
- We’re done, so pay close attention to the last two steps: type “format fs = ntfs” and hit Enter. Wait for the process to finish and when it’s ready, type “assign” and hit Enter again.
- To complete the process, you will only have to type “exit”. You can now enjoy your bootable USB.
Also Read:- Upgrade Windows 7 To Windows 11
How to download Windows 7
To download the Windows 7 operating system to your computer as an ISO image, you just have to follow the steps that we will present below. However, before you start the download, you should make sure you meet these requirements :
- The first thing you must have to download Windows 7 through its official website is the product key because without it you will not be able to download the software.
- You must have a stable internet connection.
- Have enough space on the computer’s hard drive or on the USB drive where it will be stored (minimum 4 GB).
- In addition, you should consult the minimum requirements that the computer where Windows 7 will be installed must-have.
With the aforementioned results, we are going to proceed with the step by step of how to download Windows 7 below:
- Enter the product key in the box where it is required, keep in mind that it consists of 25 characters. The key to download Windows 7 is in the box of the purchased product, either in physical version or online through an email that you will have received after purchase.
- After verifying the validation key of the operating system, you must select the language you want from the pop-up menu.
- Next, and this is one of the most important steps, you must select the version of Windows that best suits your computer, be it 32 or 64 bits. Keep in mind that you will receive both versions through the links.
- After selecting the correct version from the link, the download will start automatically.
How to install Windows 7 from USB: step by step
As we have seen, downloading Windows 7 is an easy task, so now you just have to take it to your bootable USB drive and install it on the computers you want. Find out how to install Windows 7 from a pen drive with the step by step that we present below:
- The first thing you should do, and already having a bootable USB, is to copy the Windows 7 software to the unit. Remember that if you have an ISO image you must unzip it before copying it to USB.
- Next, you must turn off your computer in order to insert the bootable USB drive with the copied operating system. To access the system boot panel, you must turn on the computer and press any of the F12, F9, F11, F8, F10 or ESC keys + any of the aforementioned keys or TAB.
- Once you are inside the boot system menu, look for the option “Boot Menu” and press Enter.
- As soon as you can enter the Boot Menu, look for the “USB” option and hit Enter again. In some cases, this option may be presented to you under the name “Removable Devices.”
- Next, go to the “exit” option and wait for the computer to restart to boot with the bootable USB drive.
- Once the Windows 7 operating system installer starts, you will only have to follow the instructions that the installation wizard will indicate.
After this last step, you will already know how to install Windows 7 from USB and you will be able to enjoy this modern version as much as you want.
If you want to read more articles similar to How to install Windows 7 from USB – step by step, we recommend that you enter our PC-Tutorials category.


Who Invented Lithium ion Batteries
SHARE More Imagine a world without smartphones, laptops, or electric cars. Crazy, right? These amazing devices rely on a powerful...


Who Invented SSD : A Journey From Invention To Innovation
SHARE More The dominance of Solid State Drives (SSDs) in modern data storage is undeniable. Their lightning-fast performance, superior reliability,...


Google Gemini: Your Super-Smart AI Sidekick (Made Easy!)
SHARE More Imagine a helpful friend who can write emails, translate languages, dream up creative ideas, and even write code!...


Who Invented Gorilla Glass for Mobile: Unveiling the Inventor and Its Impact
SHARE More In the ever-evolving landscape of mobile technology, Gorilla Glass has emerged as a revolutionary material, providing durability and...


The Evolution of Touch Screen Technology: A Journey into its Inventors and Innovations
SHARE More Touch screen technology has become an integral part of our daily lives, seamlessly blending with our smartphones, tablets,...


The Evolution of Memory Cards: Unraveling the Inventors Behind the Innovation
SHARE More In the fast-paced world of technology, memory cards have become an indispensable part of our daily lives. From...


Who Invented Sim Card | The Origin and Inventor of the SIM Card: A Revolutionary Communication Breakthrough
SHARE More In today’s digitally interconnected world, the SIM card stands as a tiny yet indispensable component of our daily...


Who invented Walkie-Talkie | Exploring the Wonders of Walkie-Talkies: A Simple Guide for Beginners
SHARE More Walkie-talkies, often fondly referred to as “woki tokies,” are incredible communication devices that have stood the test of...


Who Invented Camera Lens : A Revolutionary Innovation in Photography
SHARE More The invention of the camera lens stands as a pivotal milestone in the history of photography, fundamentally altering...


The Evolution of Radio Broadcasting: Who Invented Radio?
SHARE More Radio broadcasting has been a cornerstone of communication, entertainment, and information dissemination for over a century. It revolutionized...
-
 Phones5 years ago
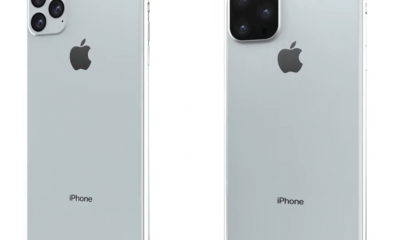
Apple iPhone 11 (2019) – Release, Info, Leaks, Rumors
-
![Huawei's New Operating System is HarmonyOS [ Officially ],harmony os,huawei new operating system, huawei harmony OS,](https://www.thedigitnews.com/wp-content/uploads/2019/08/Screenshot__2285_-removebg-preview-2-1-400x240.png)
![Huawei's New Operating System is HarmonyOS [ Officially ],harmony os,huawei new operating system, huawei harmony OS,](https://www.thedigitnews.com/wp-content/uploads/2019/08/Screenshot__2285_-removebg-preview-2-1-80x80.png) Phones5 years ago
Phones5 years agoHuawei New Operating System is HarmonyOS [ Officially ]
-

 News5 years ago
Belle Delphine bath water – Instagram Model Sells Used Bathwater For 30$ To Their Loyal Followers
-

 Tech5 years ago
Levi’s Bluetooth Jacket Lets You Control Your Smartphone