iPhone
What is Apple ID Used For

An Apple ID is a unique account that allows users to access various Apple services and products, such as the App Store, iCloud, iTunes, and more. It is a fundamental aspect of using Apple products and is required to download apps, music, and other content from the App Store, back up data to iCloud and use Apple’s other online services. In this article, we will walk through the steps of creating and using an Apple ID, including how to set up an Apple ID on an iPhone, iPad, or Mac, how to use an Apple ID to purchase content from the App Store, and how to manage your Apple ID settings.
Step 1: Create an Apple ID
To create an Apple ID, you will need to visit the Apple ID website (appleid.apple.com) and click the “Create your Apple ID” button. You will then be prompted to enter your personal information, including your name, email address, and password. You will also need to provide a phone number, which can be used to verify your account. Once you have entered all of your information, you will be asked to read and accept the terms and conditions of the Apple ID service.
Step 2: Verify your Email Address
Once you have completed the registration process, you will receive an email from Apple asking you to verify your email address. Click the “Verify Now” button in the email, and you will be taken to a page where you can enter your Apple ID and password to confirm your account. If you do not receive the verification email, check your spam or junk mail folder, or try resending the verification email from the Apple ID website.
Step 3: Sign in to your Apple ID
Once your email address has been verified, you can sign in to your Apple ID on any device that supports Apple services. To sign in on an iPhone, iPad, or Mac, go to the “Settings” app and tap “iCloud.” Enter your Apple ID and password, and you will be signed in. Once signed in, you will be able to access all of the services and content that are available with your Apple ID.
Step 4: Purchase Content from the App Store
One of the most popular uses of an Apple ID is to purchase content from the App Store. To purchase an app, music, or other content from the App Store, simply open the App Store app and search for the item you want to buy. Once you find the item, tap the “Buy” button, and you will be prompted to enter your Apple ID and password. If you have a credit or debit card on file, the purchase will be charged to that card. If you do not have a card on file, you will be prompted to enter your billing information.
Step 5: Manage your Apple ID Settings
Once you have an Apple ID, you can manage your account settings and personal information at any time. To access your account settings, go to the Apple ID website (appleid.apple.com) and sign in with your Apple ID and password. From there, you can change your personal information, update your billing information, and manage your security settings. You can also view your purchase history and manage your subscriptions.
Step 6: Set Up Two-Factor Authentication
Two-factor authentication is an additional security measure that requires you to enter a code sent to your phone or another device in addition to your password. This helps to protect your account from unauthorized access, even if someone else knows your password.
To set up two-factor authentication, you will need to go to your Apple ID account settings and enable the feature. Once it is enabled, you will receive a code via text or another device that you will need to enter in addition to your password to access your account.
Step 5: Create a Recovery Key
A recovery key is a unique code that can be used to regain access to your Apple ID if you forget your password or lose your phone. This is an important step in securing your account and should be done before you need it. To create a recovery key, you will need to go to your Apple ID account settings and follow the prompts.
Step 6: Keep Your Software Up-to-Date
Finally, it is important to keep your software up-to-date. This includes updating your operating system, as well as any apps that you have installed. Updating your software helps to fix any security vulnerabilities that may have been discovered and ensures that your device is protected from the latest threats.
Benefits of Apple ID Security
Apple ID security provides a number of benefits to users, including:
- Protects your personal information: By securing your Apple ID with a strong password and two-factor authentication, you can protect your personal information from being accessed by unauthorized users.
- Keeps your devices secure: Apple ID security also helps to protect your devices from unauthorized access. This includes your iPhone, iPad, and Mac, as well as any other Apple devices that you may own.
- Allows you to easily access your account: With Apple ID security, you can easily access your account from any device, anywhere. This makes it easy to stay connected with your friends and family, as well as keep up with your work.
- Provides peace of mind: Knowing that your Apple ID is secure can provide peace of mind, especially when it comes to sensitive information such as personal and financial data.
iPhone
How to Fix Drag and Drop Not Working on iPhone

Drag and drop is a feature that is widely used by iPhone users to transfer files from one location to another within their device. However, there are times when this feature may stop working, leading to frustration and inconvenience for the users. In this article, we will discuss the reasons for drag and drop not working on iPhones and provide step-by-step instructions on how to fix this issue.
Reasons for Drag and Drop Not Working on iPhone
There are several reasons why drag and drop may not be working on your iPhone. Some of the common causes include:
- Outdated iOS: One of the primary reasons for drag and drop not working on an iPhone could be the outdated iOS version. Apple releases updates regularly to fix bugs and improve the overall performance of its devices. Make sure that your iPhone is running the latest version of iOS.
- Accessibility Settings: Another reason for drag and drop not working could be the accessibility settings on your device. If you have turned off the accessibility settings for drag and drop, this could be the reason for the issue.
- Broken Screen: If your iPhone’s screen is cracked, it may cause drag and drop to stop working. A broken screen can cause problems with the touch-sensitive areas, leading to the feature not functioning properly.
- Corrupted Files: Sometimes, the files themselves may be corrupted, which can cause drag and drop not to work. If this is the case, you will need to delete the corrupted files and transfer new ones.
Step-by-Step Guide to Fix Drag and Drop Not Working on iPhone
Here is a step-by-step guide on how to fix drag and drop not working on iPhone:
Step 1: Update iOS
If your iPhone is running an outdated version of iOS, this could be the reason for drag and drop not working. To update iOS, follow these steps:
- Open the Settings app on your iPhone.
- Tap on “General.”
- Tap on “Software Update.”
- If there is an update available, tap on “Download and Install.”
- Follow the on-screen instructions to complete the update process.
Step 2: Check Accessibility Settings
If updating iOS does not fix the drag-and-drop issue, the next step is to check the accessibility settings on your device. To do this, follow these steps:
- Open the Settings app on your iPhone.
- Tap on “General.”
- Tap on “Accessibility.”
- Tap on “Touch.”
- Ensure that the “3D & Haptic Touch” option is turned on.
- If it is not turned on, turn it on and see if this fixes the issue.
Step 3: Repair the Screen
If your iPhone’s screen is cracked, this could be the reason for drag and drop not working. In this case, you will need to repair the screen to fix the issue. If you are not comfortable repairing the screen yourself, take your device to a professional repair shop.
Step 4: Delete Corrupted Files
If the files themselves are corrupted, they may cause drag and drop to stop working. To fix this issue, you will need to delete the corrupted files and transfer new ones.
- Open the Files app on your iPhone.
- Locate the corrupted file.
- Tap and hold the file until a menu appears.
- Tap on “Delete.”
- Repeat this process for all the corrupted files.
- Transfer new files to your device.
Step 5: Check Your Operating System
The first step to fix drag and drop not working is to make sure you have the latest operating system installed on your iPhone. You can check this by going to Settings > General > Software Update. If there is an update available, download and install it. This may fix the issue if it was caused by a software glitch in your operating system.
Step 6: Restart Your iPhone
Sometimes, a simple restart can fix the drag and drop not working issue. To restart your iPhone, hold down the side button and either of the volume buttons until the power off slider appears. Slide to power off, then press the side button to turn on your iPhone.
Step 7: Force Restart Your iPhone
If a simple restart doesn’t work, try a force restart. To do this, press and hold the side button and either of the volume buttons until the Apple logo appears. This will erase the temporary files that might be causing the drag and drop not working issue.
Step 8: Reset Your iPhone
If a force restart doesn’t work, you can reset your iPhone. To reset your iPhone, go to Settings > General > Reset > Erase All Content and Settings. This will erase all your data and settings, so be sure to back up your iPhone before resetting it. After resetting your iPhone, set it up as new and try the drag-and-drop feature again.
Step 9: Disable and Enable the Drag and Drop Feature
Sometimes, disabling and enabling the drag-and-drop feature can fix the issue. To do this, go to Settings > General > Accessibility > AssistiveTouch. Turn on the switch for AssistiveTouch and try the drag-and-drop feature again. If it works, turn off the switch for AssistiveTouch and try the drag-and-drop feature again.
Step 10: Reset Your Network Settings
If the drag and drop not working issue persists, resetting your network settings may help. To reset your network settings, go to Settings > General > Reset > Reset Network Settings. This will erase your Wi-Fi passwords and other network settings, so be sure to have them handy when you set up your network again.
Step 11: Contact Apple Support
If none of the above steps worked for you, it may be a hardware issue with your iPhone. In this case, you should contact Apple Support for further assistance. They may suggest taking your iPhone to an Apple Store for a hardware check.
In conclusion
Drag and drop not working on your iPhone can be fixed with a few simple steps. Whether it’s a software glitch, an outdated operating system, or a hardware issue, there are several ways to get your drag-and-drop feature working again. If none of the above steps work for you, contact Apple Support for further assistance.
iPhone
How to Enable Power On / Off Sounds on iPhone 14 Series
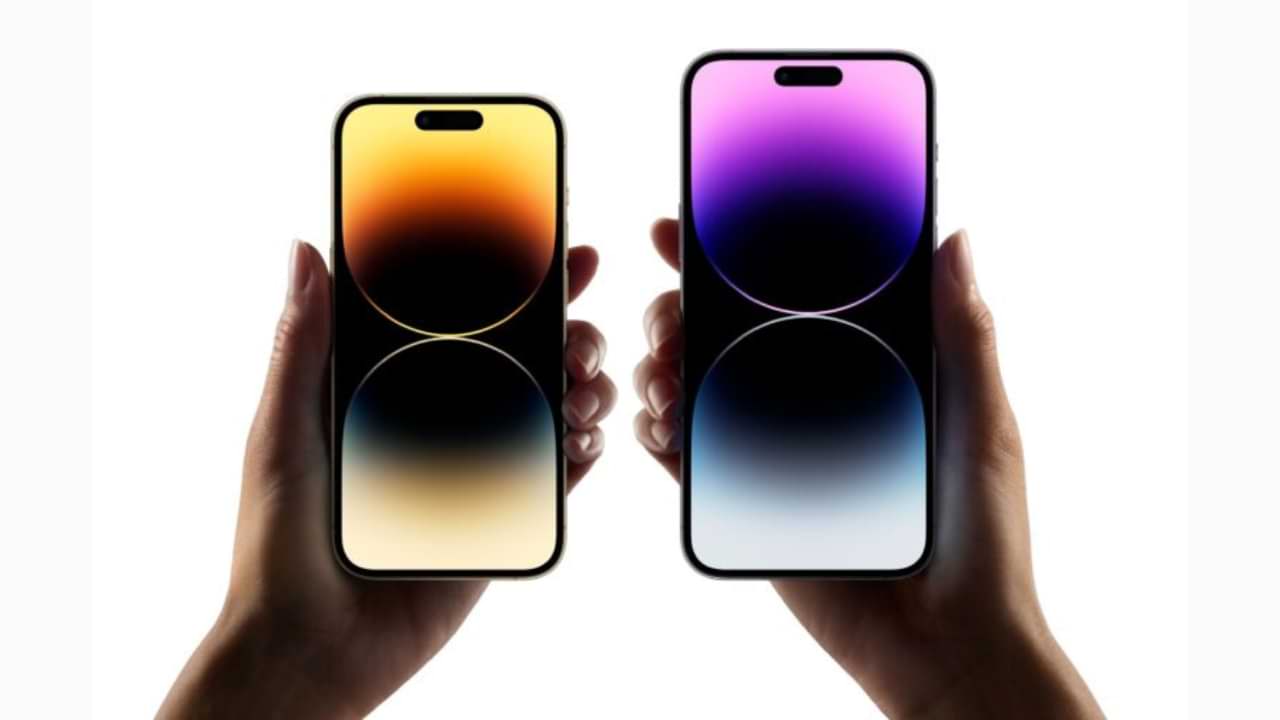
Enabling power on and off sounds on your iPhone 14 series is a simple and straightforward process. This feature adds a sound effect to your device when you turn it on and off, adding an extra layer of customization to your device. Here are the steps to enable power on and off sounds on your iPhone 14 series.
- Open the Settings app: To access your iPhone’s settings, tap the “Settings” app icon on your home screen or app drawer.
- Scroll down to “Sounds & Haptics“: In the settings menu, scroll down until you find the “Sounds & Haptics” option and tap it.
- Enable Power On/Off Sounds: Under the “Sounds and Vibrations Patterns” section, toggle the switch next to “Power On/Off Sound” to the on position. This will enable the power on and off sounds.
- Adjust Sound Volume: If you want to adjust the volume of the power on and off sounds, you can use the volume slider located under the “Power On/Off Sound” toggle switch.
- Save changes: Once you have made your changes, simply exit the settings app, and your changes will be saved automatically.
That’s it! Now, every time you turn your iPhone 14 series on or off, you’ll hear the sound effect you have selected. Keep in mind that you can always disable the power on and off sounds by following the above steps and toggling the “Power On/Off Sound” switch to the off position.
In conclusion, enabling power on and off sounds on your iPhone 14 series is a quick and easy process that adds a personal touch to your device. Whether you want a simple tone or a more elaborate sound effect, this feature allows you to choose the audio experience that works best for you.
iPhone
How To Raise Hand in Zoom on iPhone & iPad

Raising your hand in Zoom on an iPhone or iPad can be a simple process that allows you to indicate that you have a question or comment during a virtual meeting. By following a few simple steps, you can effectively communicate with your coworkers, classmates, or friends while in a Zoom session.
Step 1: Join a Zoom Meeting
To raise your hand in Zoom, you must first join a Zoom meeting. You can do this by clicking on the Zoom app on your iPhone or iPad and opening the app. You will then see a “Join a Meeting” button, which you should click to start the Zoom session. You will be prompted to enter the meeting ID or the URL of the Zoom meeting.
Step 2: Participate in the Meeting
Once you have joined the Zoom meeting, you will be able to participate in the conversation by using the audio and video features. To turn on your video, tap the “Start Video” button on the bottom of your screen. If you prefer to use audio only, tap the “Start Audio” button.
Step 3: Raise Your Hand
Now that you are in the Zoom meeting, you can raise your hand to indicate that you would like to speak. To do this, simply tap the “Raise Hand” button, which is located in the bottom left corner of your screen. The host of the meeting will then be able to see that you have raised your hand and can give you the opportunity to speak.
Step 4: Wait for Your Turn
Once you have raised your hand, you should wait for your turn to speak. The host of the meeting will typically call on you by name or by the order in which your hand was raised. When it is your turn to speak, simply begin talking into your microphone or iPhone.
Step 5: Lower Your Hand
After you have finished speaking, it is important to lower your hand. To do this, simply tap the “Lower Hand” button, which is located in the bottom left corner of your screen. This will indicate to the host of the meeting that you are done speaking and that someone else may now raise their hand.
Step 6: End the Meeting
When the Zoom meeting is over, you can simply tap the “End Meeting” button in the bottom right corner of your screen. This will end the Zoom session and allow you to exit the meeting.
In conclusion, raising your hand in Zoom on an iPhone or iPad is a simple process that allows you to effectively communicate with others during a virtual meeting. By following the steps outlined above, you can raise your hand, wait for your turn to speak, and lower your hand when you are done. With these simple steps, you can effectively participate in Zoom meetings and make your voice heard.
-

 Phones5 years ago
Apple iPhone 11 (2019) – Release, Info, Leaks, Rumors
-
![Huawei's New Operating System is HarmonyOS [ Officially ],harmony os,huawei new operating system, huawei harmony OS,](https://www.thedigitnews.com/wp-content/uploads/2019/08/Screenshot__2285_-removebg-preview-2-1-400x240.png)
![Huawei's New Operating System is HarmonyOS [ Officially ],harmony os,huawei new operating system, huawei harmony OS,](https://www.thedigitnews.com/wp-content/uploads/2019/08/Screenshot__2285_-removebg-preview-2-1-80x80.png) Phones5 years ago
Phones5 years agoHuawei New Operating System is HarmonyOS [ Officially ]
-

 News5 years ago
Belle Delphine bath water – Instagram Model Sells Used Bathwater For 30$ To Their Loyal Followers
-

 Tech5 years ago
Levi’s Bluetooth Jacket Lets You Control Your Smartphone


