
Windows 10
How to put or show the ‘This Computer’ icon on the Windows 10 desktop
Windows is a very innovative operating system, which has been shown throughout all its new versions that they improve the interface and interactivity of your computers.
Until now, the eighth and tenth versions have caused quite a lot of popularity among the masses that they enable the constant installation of their equipment, mostly with the new design that you have established for your main window.
Despite the fact that many people have congratulated the Microsoft company for the significant change to its aesthetics, some constantly complain about the abrupt way in which they have been established, compared to their old versions, such as the appearance of an icon of ‘ Contacts’ within the team.
However, Windows guarantees the customization and interaction of your system, so no user should worry about the absence of a feature, as it can be applied again within its main screen.
What is the function of ‘This computer’ within Windows?
The shortcut that leads to the address of ‘This computer’ is responsible for automatically displaying the contents of the main storage folder of the computer, as well as the set of hardware that connects to it.
Formerly called ‘My Computer’ and ‘Computer’, it is a window that shows access to the contents of the hard disk, such as the installation files and content of the computer’s set of programs.
Similarly, it allows access to those removable devices that want to transfer content from pole to pole. This access is not displayed directly within the set of icons that appear on the desktop.
We show you a way to restore this icon to your main screen
Even though Windows had its reasons for making the “This Computer” icon disappear from their desktop window, those who want quick access to the address can re-enable it on their usual site.
In fact, this is a problem that manifests itself in various aspects of the interface, as many users have reported problems showing the Bluetooth icon on their desktop.
But like the problem we discussed in this article, they are fully configurable parameters that can be reset back to where it was regularly.
Follow these steps to achieve it
Clearly, it is necessary to edit the desktop icon layout, which Windows has always allowed to do directly from this window or by accessing the internal configuration of the computer.
When you right-click on the desktop window, a small menu that we all know will be displayed, the last option of which turns out to be “Personalization”, which is where you must click to re-enable the “This computer” icon on the screen.
Once the configuration and customization menu of your computer opens, you will select the “Themes” section located on the left side.
Now you can select anyone with ‘click’ which you want to show on desktop.
Other configurations that Windows allows within its interface
From modifying the size of the icons within the taskbar, changing their location, and even enabling the display of programs within the desktop, this operating system is characterized by expanding the limits of customization.
In this way, by establishing these new parameters, each user will have the total freedom to change each aspect of their screen to their liking.
Likewise, through this constant configuration of shortcuts and accesses, the performance of tasks within it will be facilitated, so that the amount of time saved when carrying out an activity within your computer is significant.


Drag and drop is a feature that is commonly used in most computer programs. This feature allows the user to easily move files, folders, images, or other elements from one location to another by simply dragging and dropping them with the mouse.
However, at times, the drag-and-drop feature may not work as expected, leaving the user frustrated and unable to complete their task. This guide will provide you with a step-by-step solution to solve the issue of drag and drop not working.
1. Check your Operating System
Before troubleshooting drag and drop, it is important to make sure that your operating system (OS) is up-to-date. A software bug or compatibility issue can prevent drag and drop from functioning correctly. If your OS is out of date, go ahead and update it to the latest version. If you are using a Windows operating system, open Windows Update and install any available updates. If you are using a Mac, go to the App Store and update your MacOS.
2. Disable Running Programs
Another possible cause of drag and drop not working is having too many programs running simultaneously. If you have multiple programs open, it can slow down your computer and cause drag and drop to become unresponsive. To resolve this issue, close any unnecessary programs and then try drag and drop again.
3. Restart your Computer
Sometimes, the simplest solution is the best solution. Restarting your computer can help to reset any software bugs that may be affecting drag and drop. Simply shut down your computer, wait for a few seconds, and then turn it back on. Try dragging and dropping again to see if it is now working.
4. Check the Application Settings
Sometimes, drag and drop not working is caused by an issue with the application you are using. Check the settings of the application to see if there are any options that may be affecting drag and drop. For example, in a file management system, you may need to change the settings to allow drag and drop.
5. Disable Touchpad
If you are using a laptop, your touchpad may be interfering with drag and drop. Touchpads are often sensitive, and even a small movement can disrupt the drag-and-drop process. To resolve this issue, disable the touchpad temporarily and use an external mouse instead.
6. Try a Different Browser
If you are trying to drag and drop files or elements on a website and it is not working, try using a different browser. Different browsers may have different settings or capabilities that can affect drag and drop. Try using Google Chrome, Mozilla Firefox, or Microsoft Edge to see if drag and drop is working in any of these browsers.
7. Check for Conflicts with Other Programs
Sometimes, drag and drop may not work due to a conflict with another program. For example, antivirus software or firewall settings can prevent drag and drop from functioning properly. Try temporarily disabling any antivirus software or firewalls to see if this resolves the issue.
8. Disable Add-ons or Extensions
If you are using a browser, add-ons or extensions may be causing drag and drop to not work. Try disabling any add-ons or extensions that may be interfering with drag and drop, then try it again. You can also try using Incognito or Private mode in your browser, as these modes only run the essential browser features and do not run any add-ons or extensions.
9. Check for software updates
Software updates can fix any bugs or compatibility issues that may be causing the drag-and-drop feature to not work. To check for software updates, click on the ‘Start’ button, select ‘Settings’, and then ‘Update & Security’. Check if there are any updates available for your operating system or for the program in which you are trying to use the drag-and-drop feature.
10. Disable any antivirus software
Antivirus software can sometimes interfere with the drag-and-drop feature. To check if this is the issue, temporarily disable the antivirus software and try using the drag-and-drop feature again. If the feature starts working, then the issue is with the antivirus software. Contact the antivirus software support for further assistance.
11. Check the Mouse Settings
If the software settings do not resolve the issue, the next step is to check the mouse settings. Sometimes the drag-and-drop functionality may be disabled in the mouse settings, or the mouse may be configured incorrectly. To check the mouse settings, follow these steps:
- Go to the control panel and select the mouse option.
- Check if the drag-and-drop option is enabled.
- If the option is not available, try updating the mouse driver or checking the manufacturer’s website for any updates.
12. Use a Different Mouse
If the computer restart does not resolve the issue, the next step is to try using a different mouse. If the mouse is causing the problem, using a different mouse should resolve the issue. To use a different mouse, follow these steps:
- Connect a different mouse to the computer.
- Try the drag-and-drop functionality to see if it is now working.
- If the issue is resolved, the original mouse may be faulty and will need to be replaced.
If you want to know how to change your username in Windows 10, This article will show you how. We will decode all stages you need to follow to achieve this step by step.
We will teach you a few methods to choose the one that seems most convenient and accessible to you. Likewise, all of them are pretty simple to make so that you won’t have many inconveniences.
Change your Windows 10 username
The first method we’ll use is quite simple, and we’ll do it from Settings. It’s not very complicated, so it’s probably the easiest.
On the 1st we will hit the Windows + I keys to enter the Settings section.
Now you should go to the accounts section. After that, go where it says Manage my Microsoft account.
If you look to the left below your profile picture, you will find an option that says More options. You have to click on that option.
Now a couple of options open up. You have to do is hit where it says Edit Profile.
The username you are using now will appear. Just click where it says Change Name.
All you have to do is edit the Full Name fields with the new ones you want to use. When finished, you must press Save for all changes to be saved. To complete, just restart your computer, and you’re done.
How to change the Windows 10 username in the account manager
This method is also quite simple, and we’ll see it further.
You need to go to Start and then type ” netplwiz. ” Now just hit Enter.
A new menu called User Account will appear. You have to select the one you want to rename and choose Properties.
Now you need to enter the first and last name you want to have. After that, tap where it says Apply and Accept later.
How to change the username of Windows 10 from the control panel
This is also quite simple from the control panel, and you need to follow the steps I will leave for you below.
First, hit the Windows key or go to Start, then type ” Control Panel.” As soon as it appears among the results, hit enter.
Now you need to go to User Account and after that press where It says Change account type.
The name you are currently using appears. Here it remains only to select the Rename account option.
To finish, you need to enter the new name you want to have and at the end, just click Save.
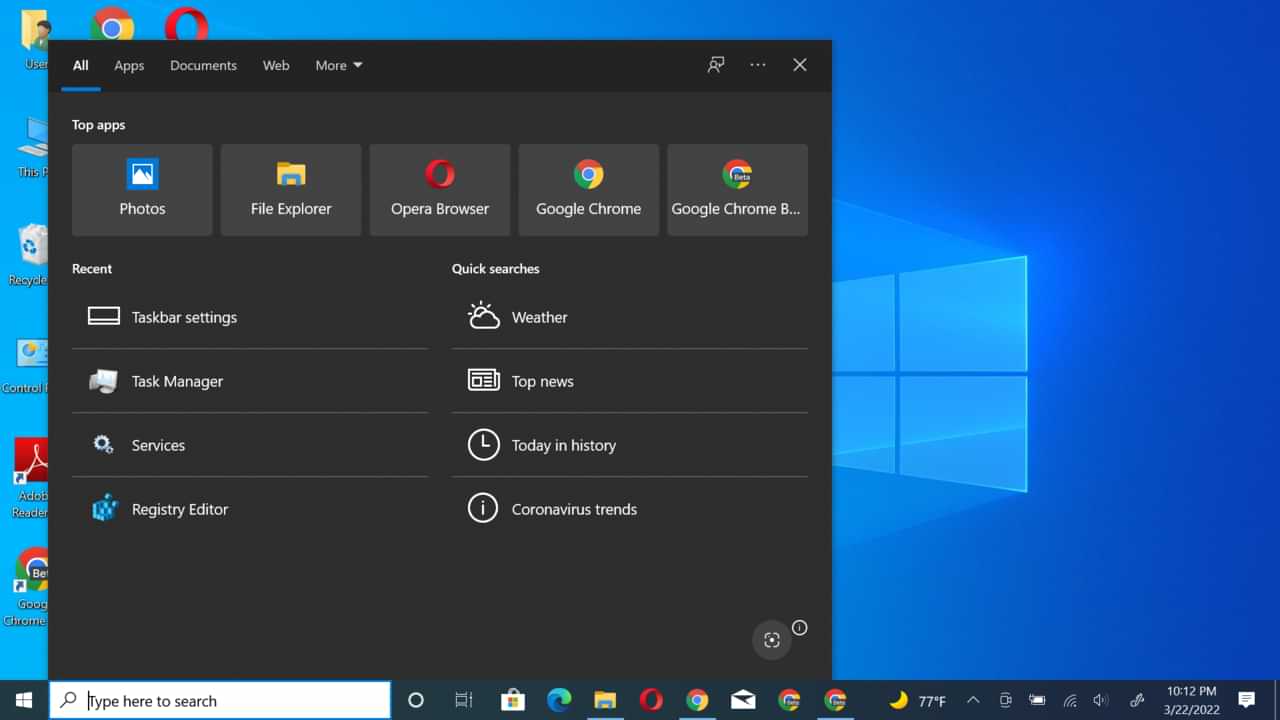
Previously, it was reported that Microsoft released Update KB5011543 for Windows 10 21H2, which in the update brought a new feature called Search Highlights.
Now, this feature itself, as I have said before, this feature is a feature similar to the feature that was recently introduced in Windows 11, which in short, this feature will give you a highlight in Windows Search and will display information about what is possible.
You want to see, such as information that is relevant and under what you want based on Microsoft’s AI technology related to privacy settings that you can set beforehand.
But what if you don’t like this feature? Because after all, Microsoft will continue to share today’s moment, daily content, Microsoft Rewards, and Trending search in your Windows Search page based on your device fingerprint.
So, here are the steps to turn off Search Highlights in Windows 10.
Step 1. Please right-click the Taskbar in Windows 10
Step 2. Next, select the Search menu > Uncheck the Show search highlights.
It’s done. After you have done the above steps, Search Highlights in Windows 10 has been successfully removed.


Who Invented Lithium ion Batteries
SHARE More Imagine a world without smartphones, laptops, or electric cars. Crazy, right? These amazing devices rely on a powerful...


Who Invented SSD : A Journey From Invention To Innovation
SHARE More The dominance of Solid State Drives (SSDs) in modern data storage is undeniable. Their lightning-fast performance, superior reliability,...


Google Gemini: Your Super-Smart AI Sidekick (Made Easy!)
SHARE More Imagine a helpful friend who can write emails, translate languages, dream up creative ideas, and even write code!...


Who Invented Gorilla Glass for Mobile: Unveiling the Inventor and Its Impact
SHARE More In the ever-evolving landscape of mobile technology, Gorilla Glass has emerged as a revolutionary material, providing durability and...


The Evolution of Touch Screen Technology: A Journey into its Inventors and Innovations
SHARE More Touch screen technology has become an integral part of our daily lives, seamlessly blending with our smartphones, tablets,...


The Evolution of Memory Cards: Unraveling the Inventors Behind the Innovation
SHARE More In the fast-paced world of technology, memory cards have become an indispensable part of our daily lives. From...


Who Invented Sim Card | The Origin and Inventor of the SIM Card: A Revolutionary Communication Breakthrough
SHARE More In today’s digitally interconnected world, the SIM card stands as a tiny yet indispensable component of our daily...


Who invented Walkie-Talkie | Exploring the Wonders of Walkie-Talkies: A Simple Guide for Beginners
SHARE More Walkie-talkies, often fondly referred to as “woki tokies,” are incredible communication devices that have stood the test of...


Who Invented Camera Lens : A Revolutionary Innovation in Photography
SHARE More The invention of the camera lens stands as a pivotal milestone in the history of photography, fundamentally altering...


The Evolution of Radio Broadcasting: Who Invented Radio?
SHARE More Radio broadcasting has been a cornerstone of communication, entertainment, and information dissemination for over a century. It revolutionized...
-
 Phones5 years ago
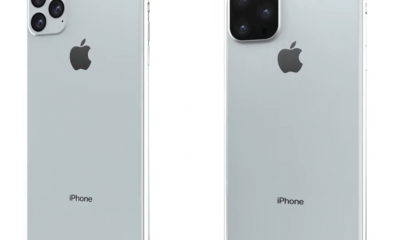
Apple iPhone 11 (2019) – Release, Info, Leaks, Rumors
-
![Huawei's New Operating System is HarmonyOS [ Officially ],harmony os,huawei new operating system, huawei harmony OS,](https://www.thedigitnews.com/wp-content/uploads/2019/08/Screenshot__2285_-removebg-preview-2-1-400x240.png)
![Huawei's New Operating System is HarmonyOS [ Officially ],harmony os,huawei new operating system, huawei harmony OS,](https://www.thedigitnews.com/wp-content/uploads/2019/08/Screenshot__2285_-removebg-preview-2-1-80x80.png) Phones5 years ago
Phones5 years agoHuawei New Operating System is HarmonyOS [ Officially ]
-

 News5 years ago
Belle Delphine bath water – Instagram Model Sells Used Bathwater For 30$ To Their Loyal Followers
-

 Tech5 years ago
Levi’s Bluetooth Jacket Lets You Control Your Smartphone